DIY Lighting: Get The Look on a Budget
While I don’t want to get into my personal thoughts on the pandemic I can say that one positive that came from our “shelter in place” is that it pushed us to make major movements on our basement renovation. The reno of the main living/hangout areas are so close to being done I can’t wait to share the finished product. In the meantime I wanted to share a little about our lighting solutions and the things you can do to transform old fixtures or new ones to get the look you want without spending an arm and a leg!
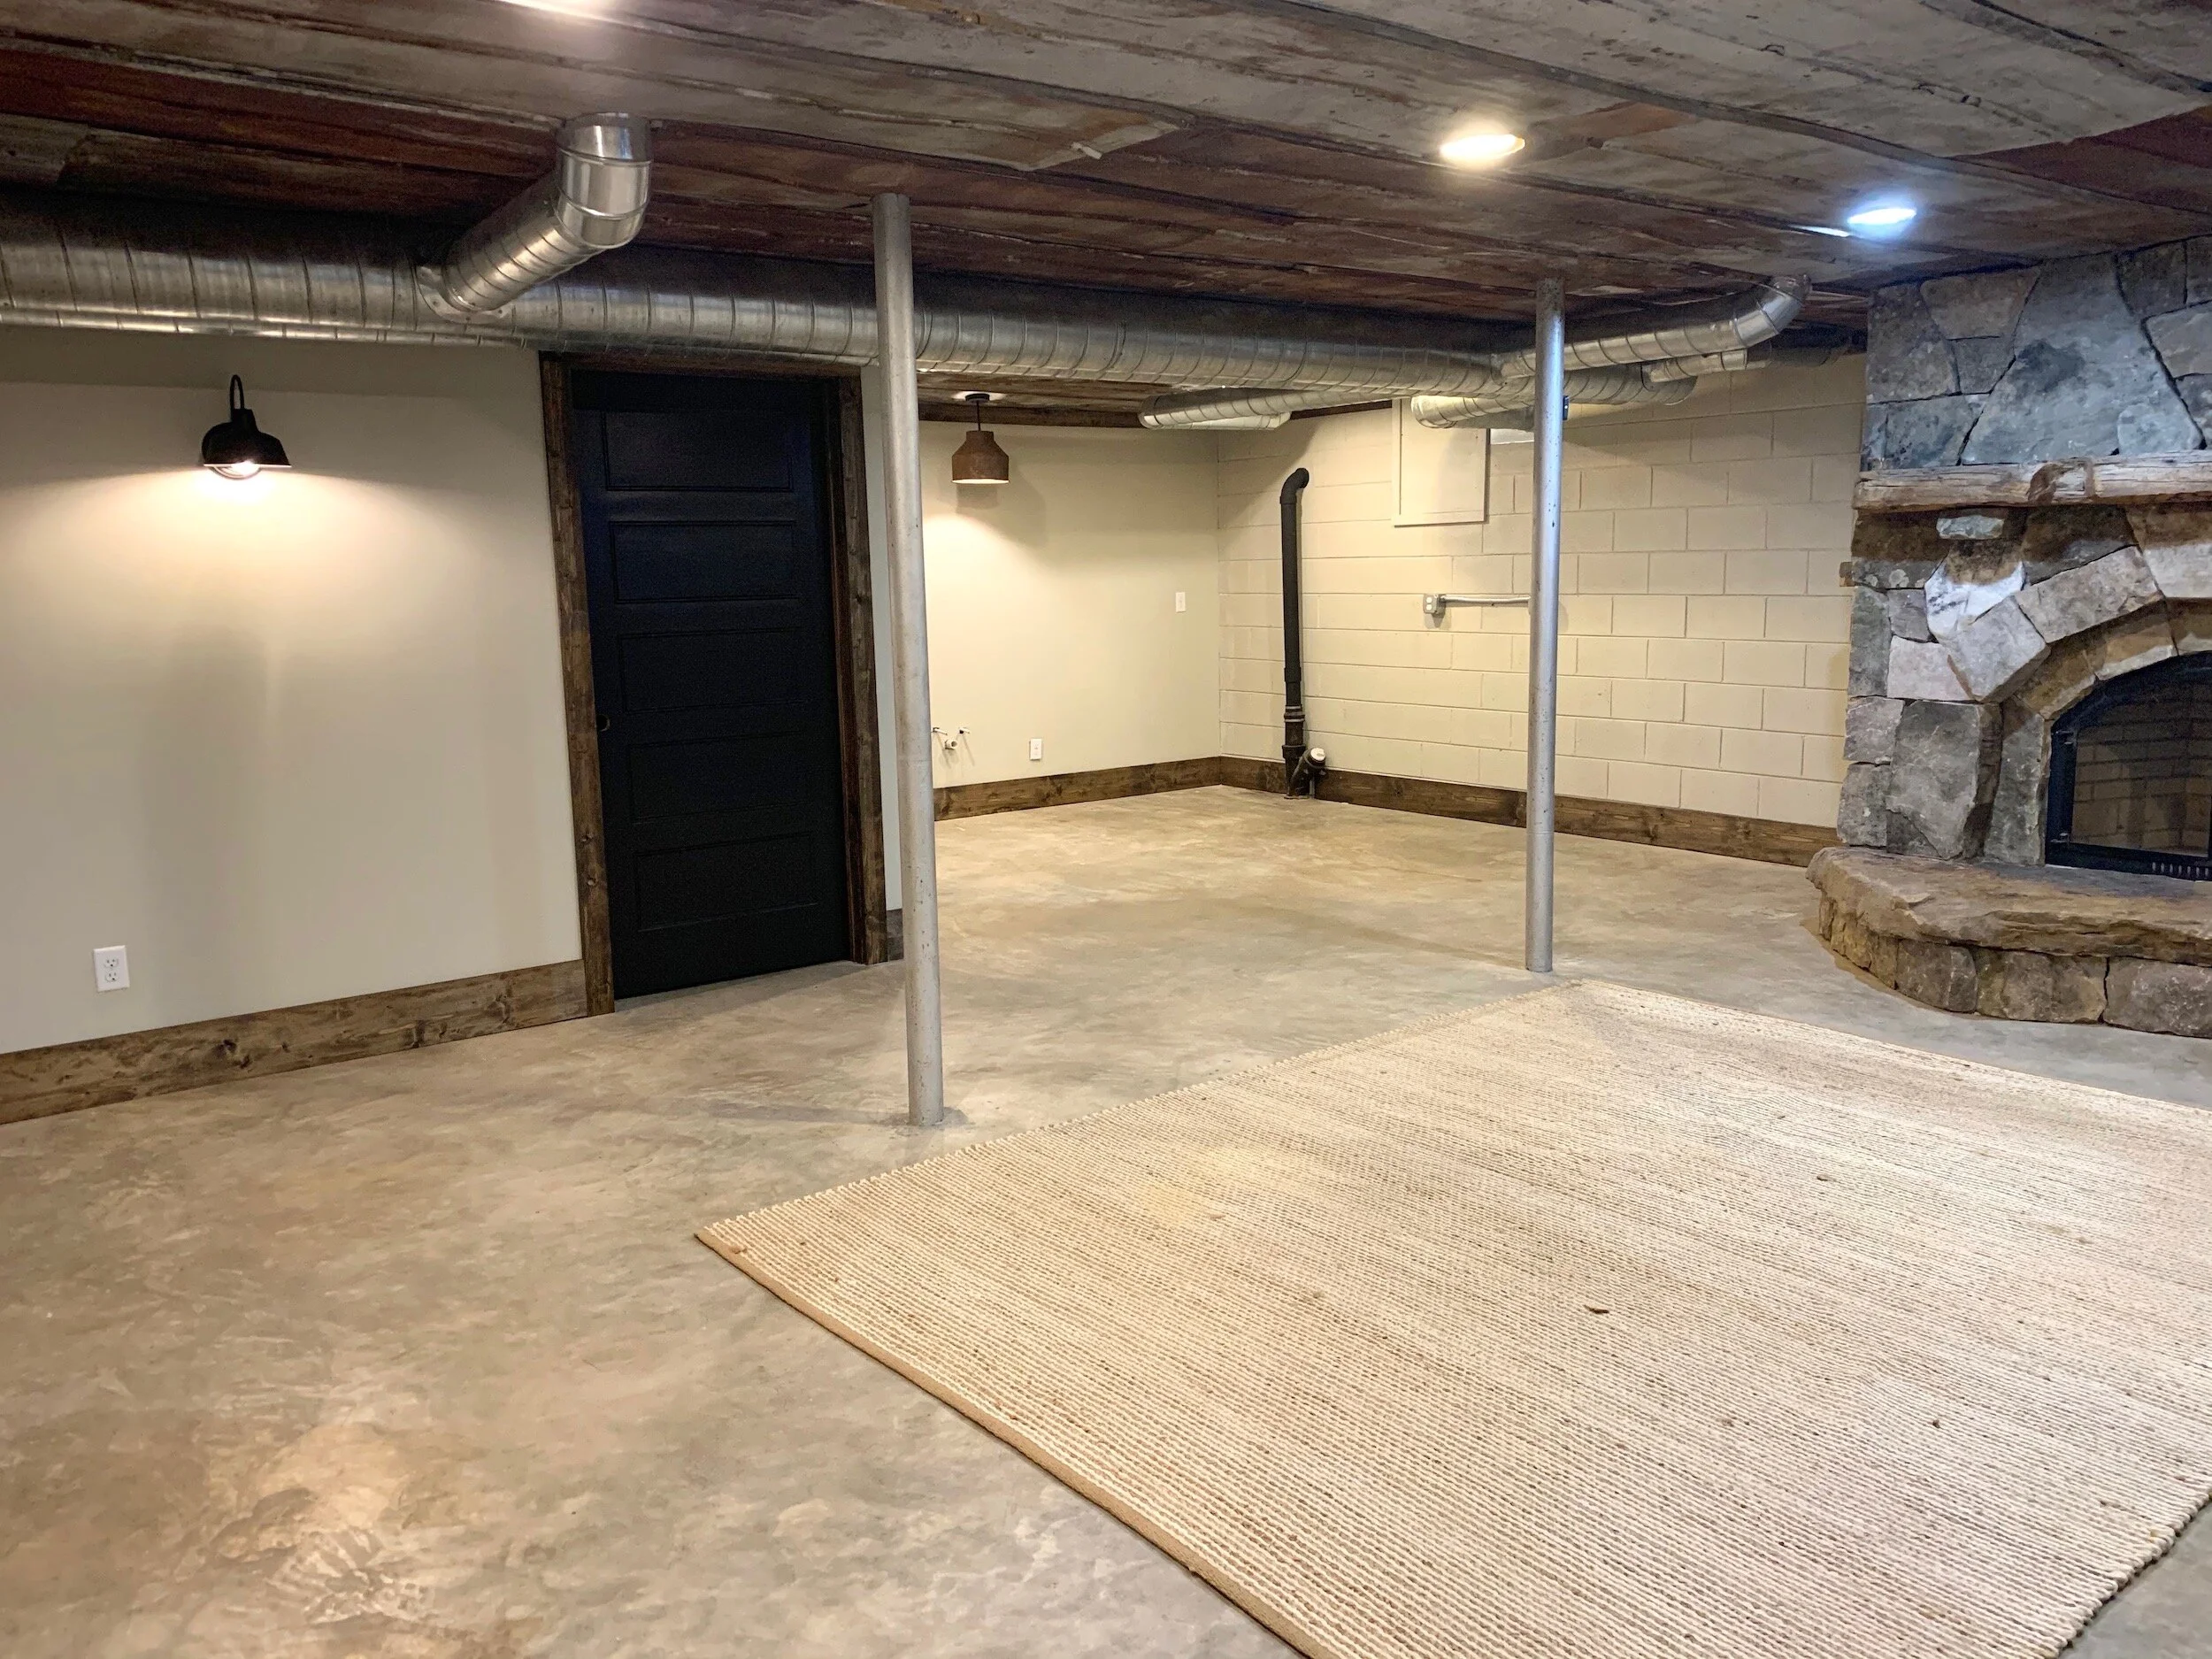
So for the basement lighting we had can lights installed everywhere. It was super dark to begin with and during our both the upstairs and downstairs reno process we eliminated a good portion of the natural light we did have coming in. Overall we had 14 can lights installed when we had the duct work reconstructed and new electrical panel installed. They used the new construction can lights - I know there are tons of can light options out there…LED etc. but our installer went with the traditional can light similar to these at Lowes. They are inexpensive and using LED bulbs can be efficient (right now we have regular interior flood bulbs).
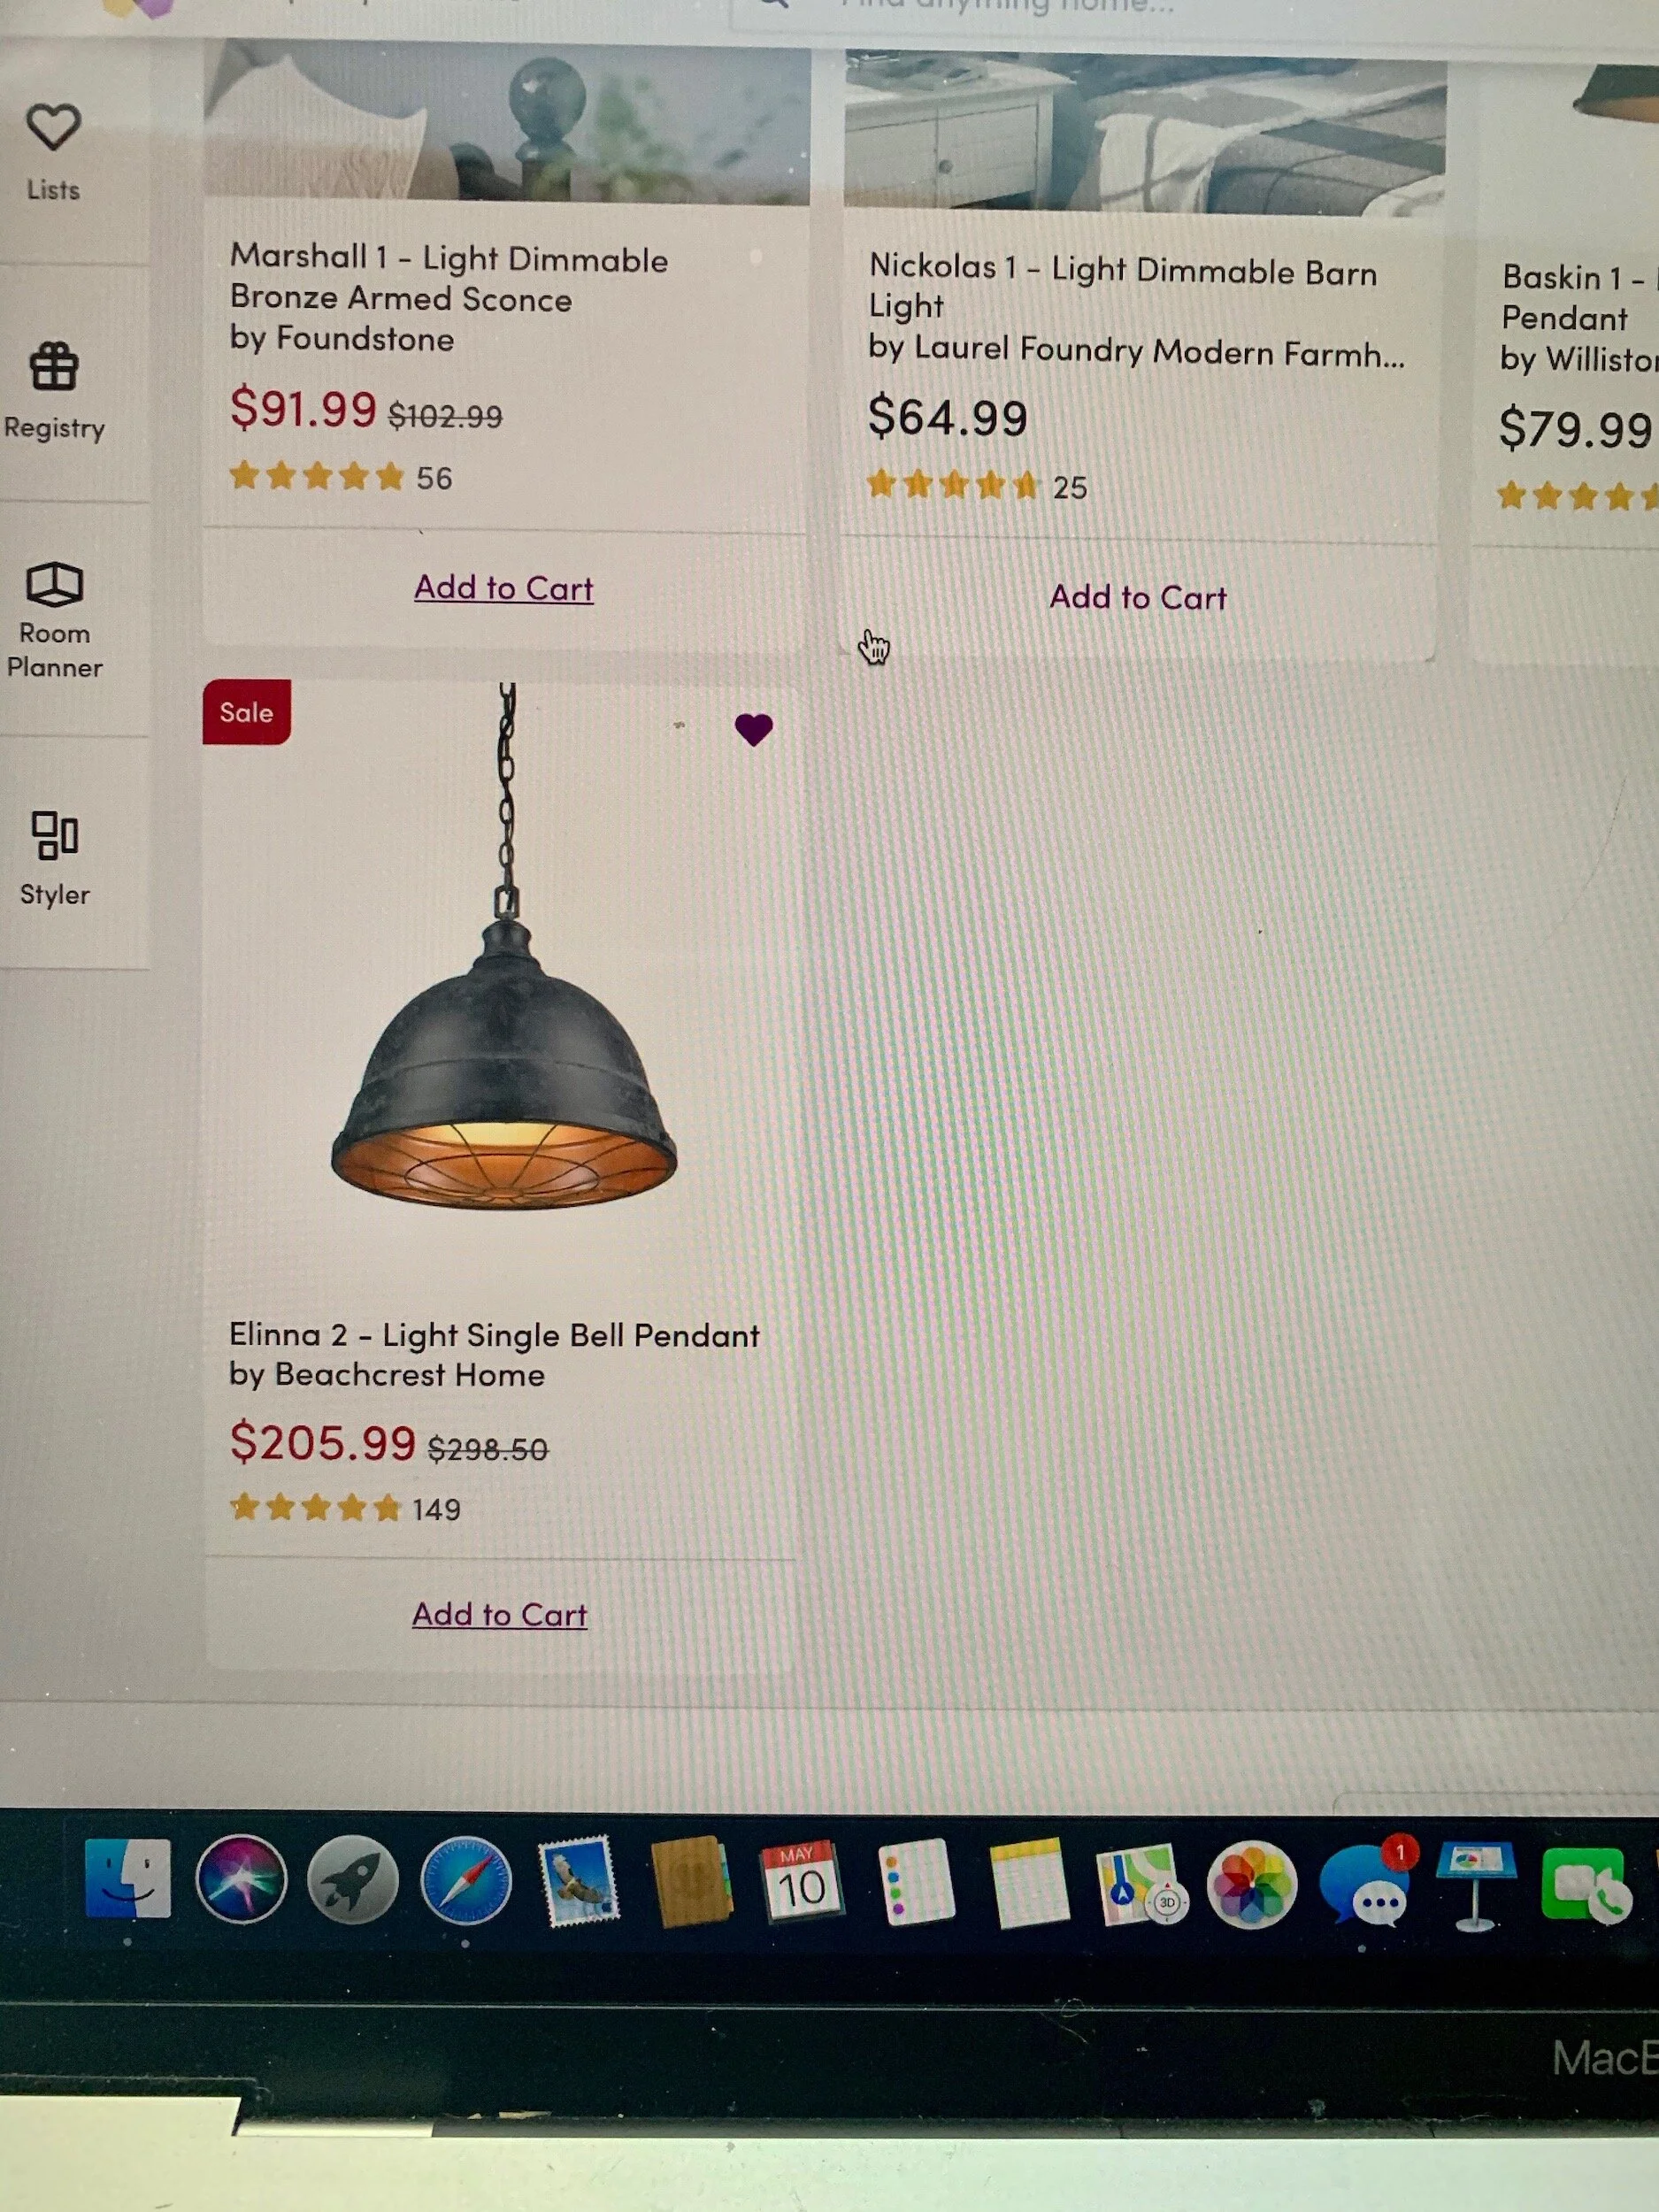
Anyway…other than the can lights we had two areas for accent lighting and I wanted it to be perfect. The basement has a specific design - with the exposed duct work, barn tin ceiling and statement fireplace I needed lighting to compliment all of it. Off to Wayfair I went. I scoured the internet for the perfect lighting, even hit up Amazon and found some good options.
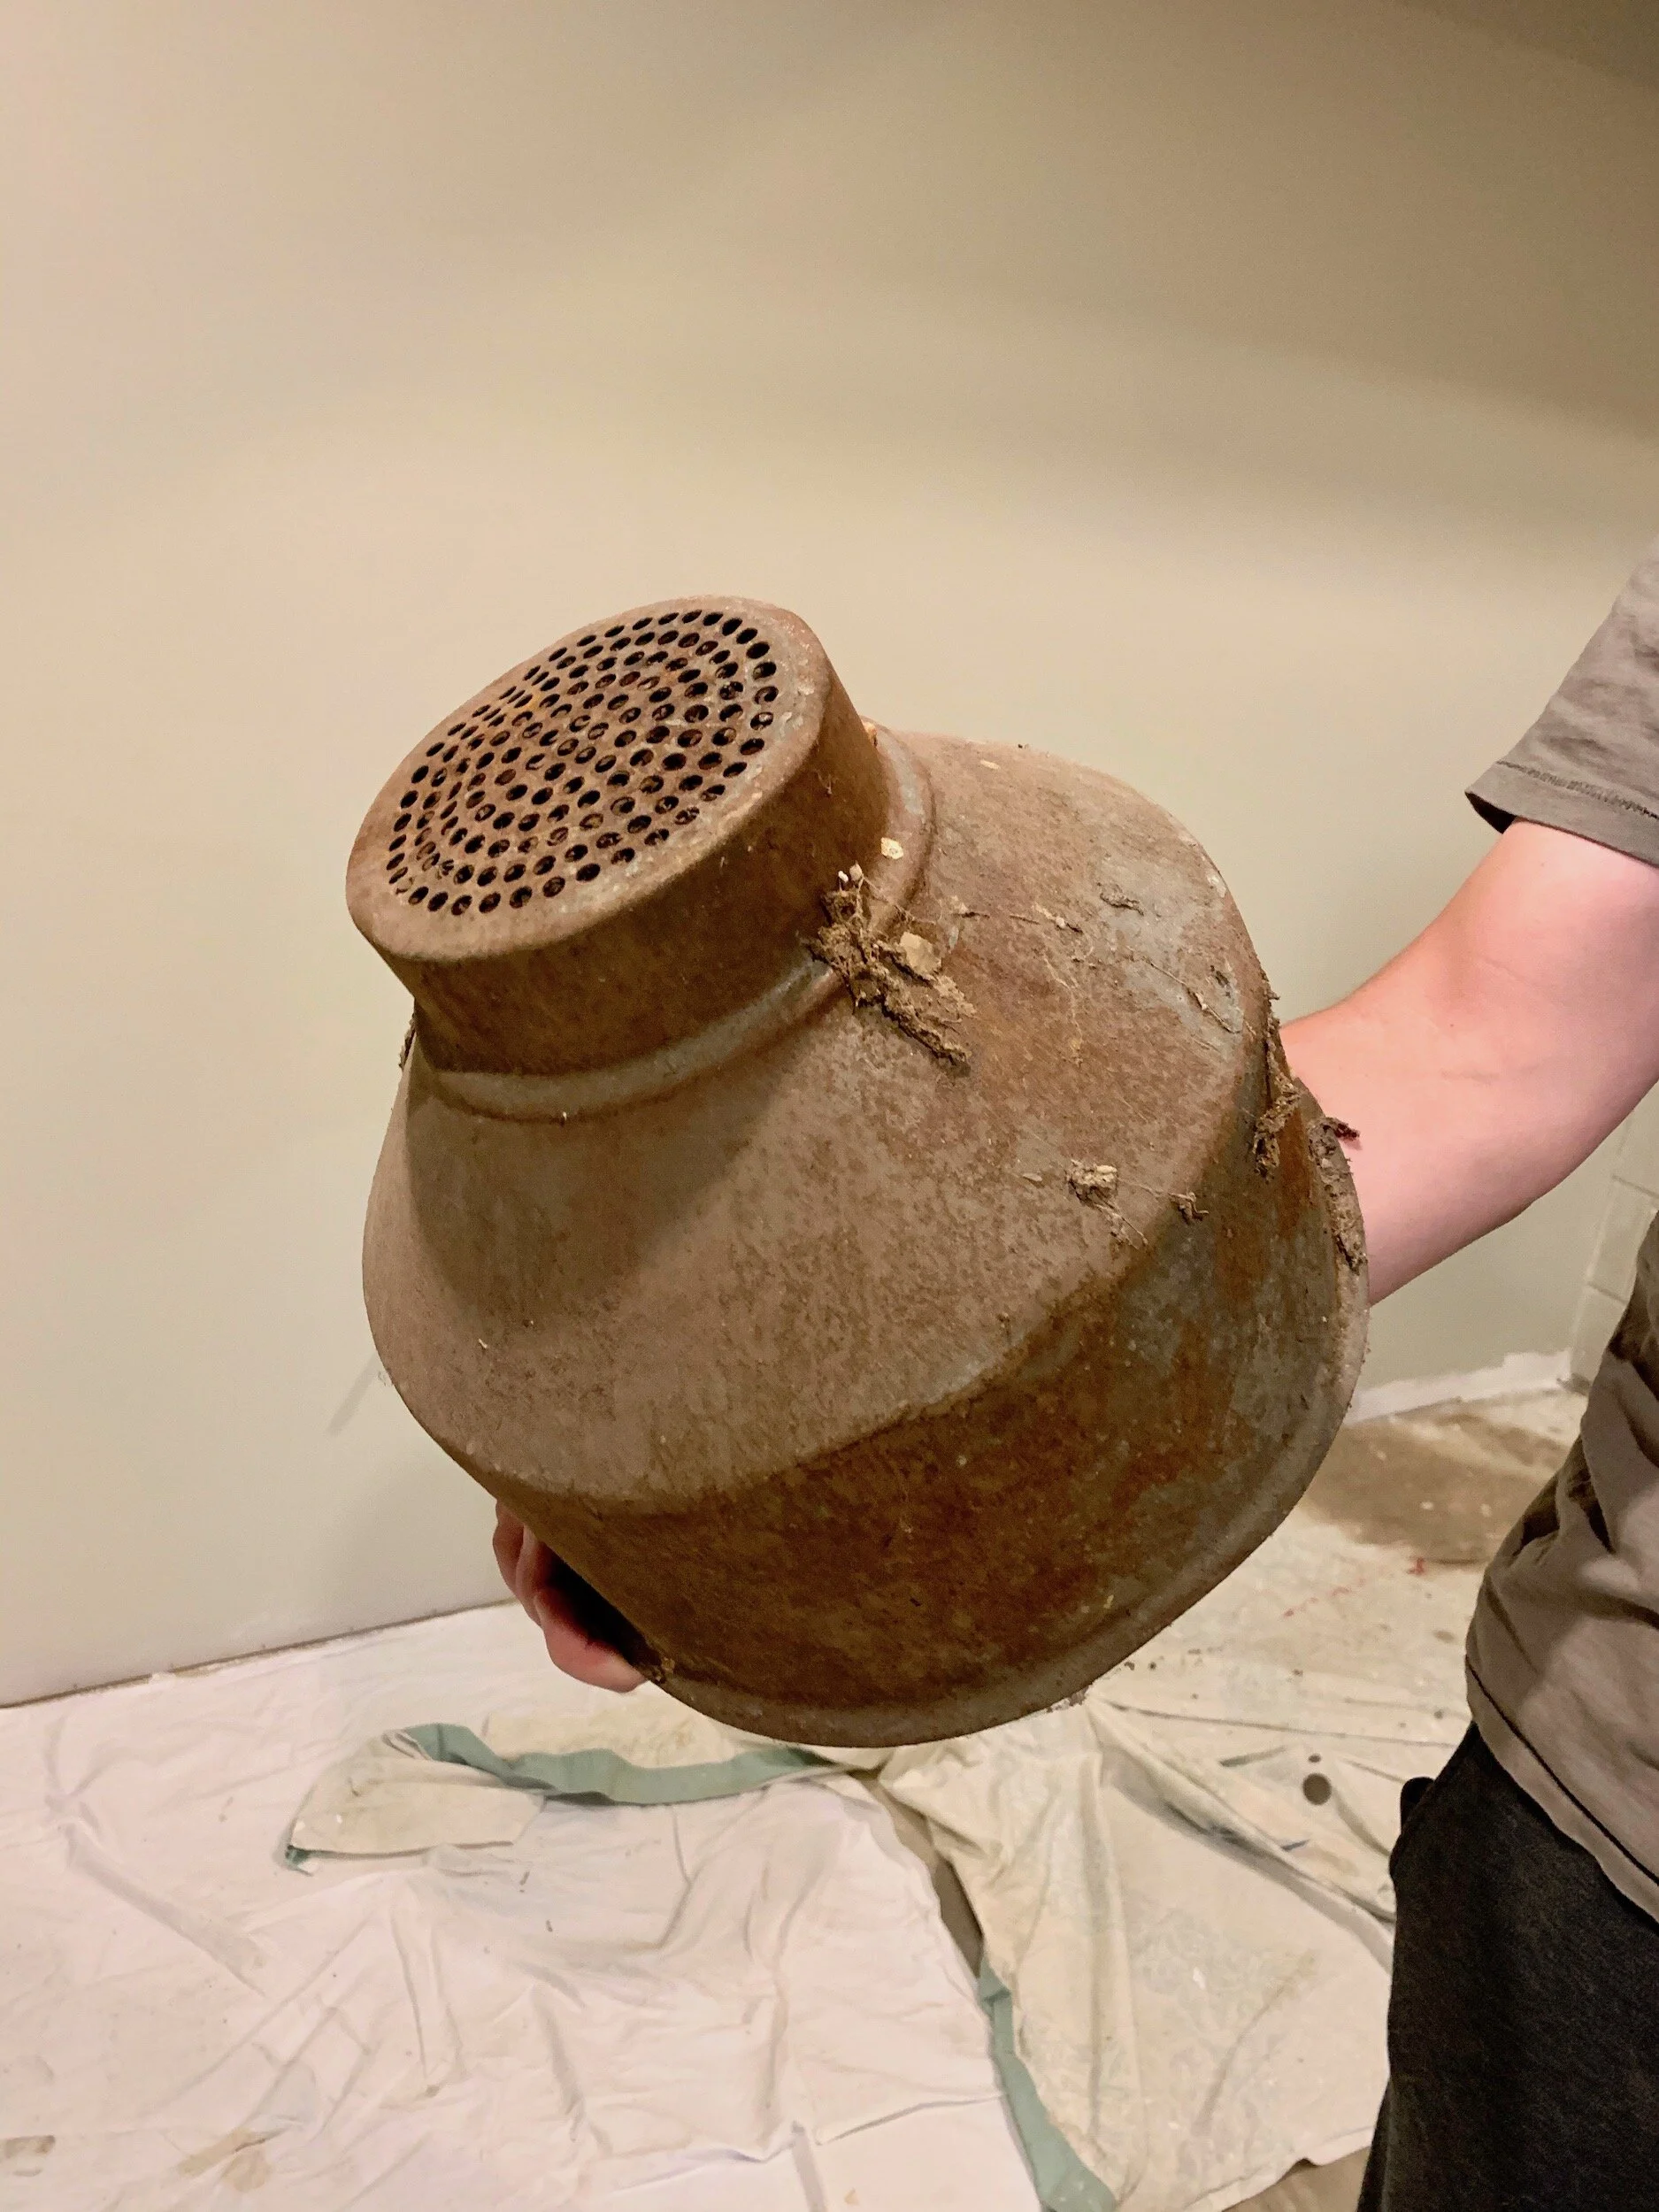
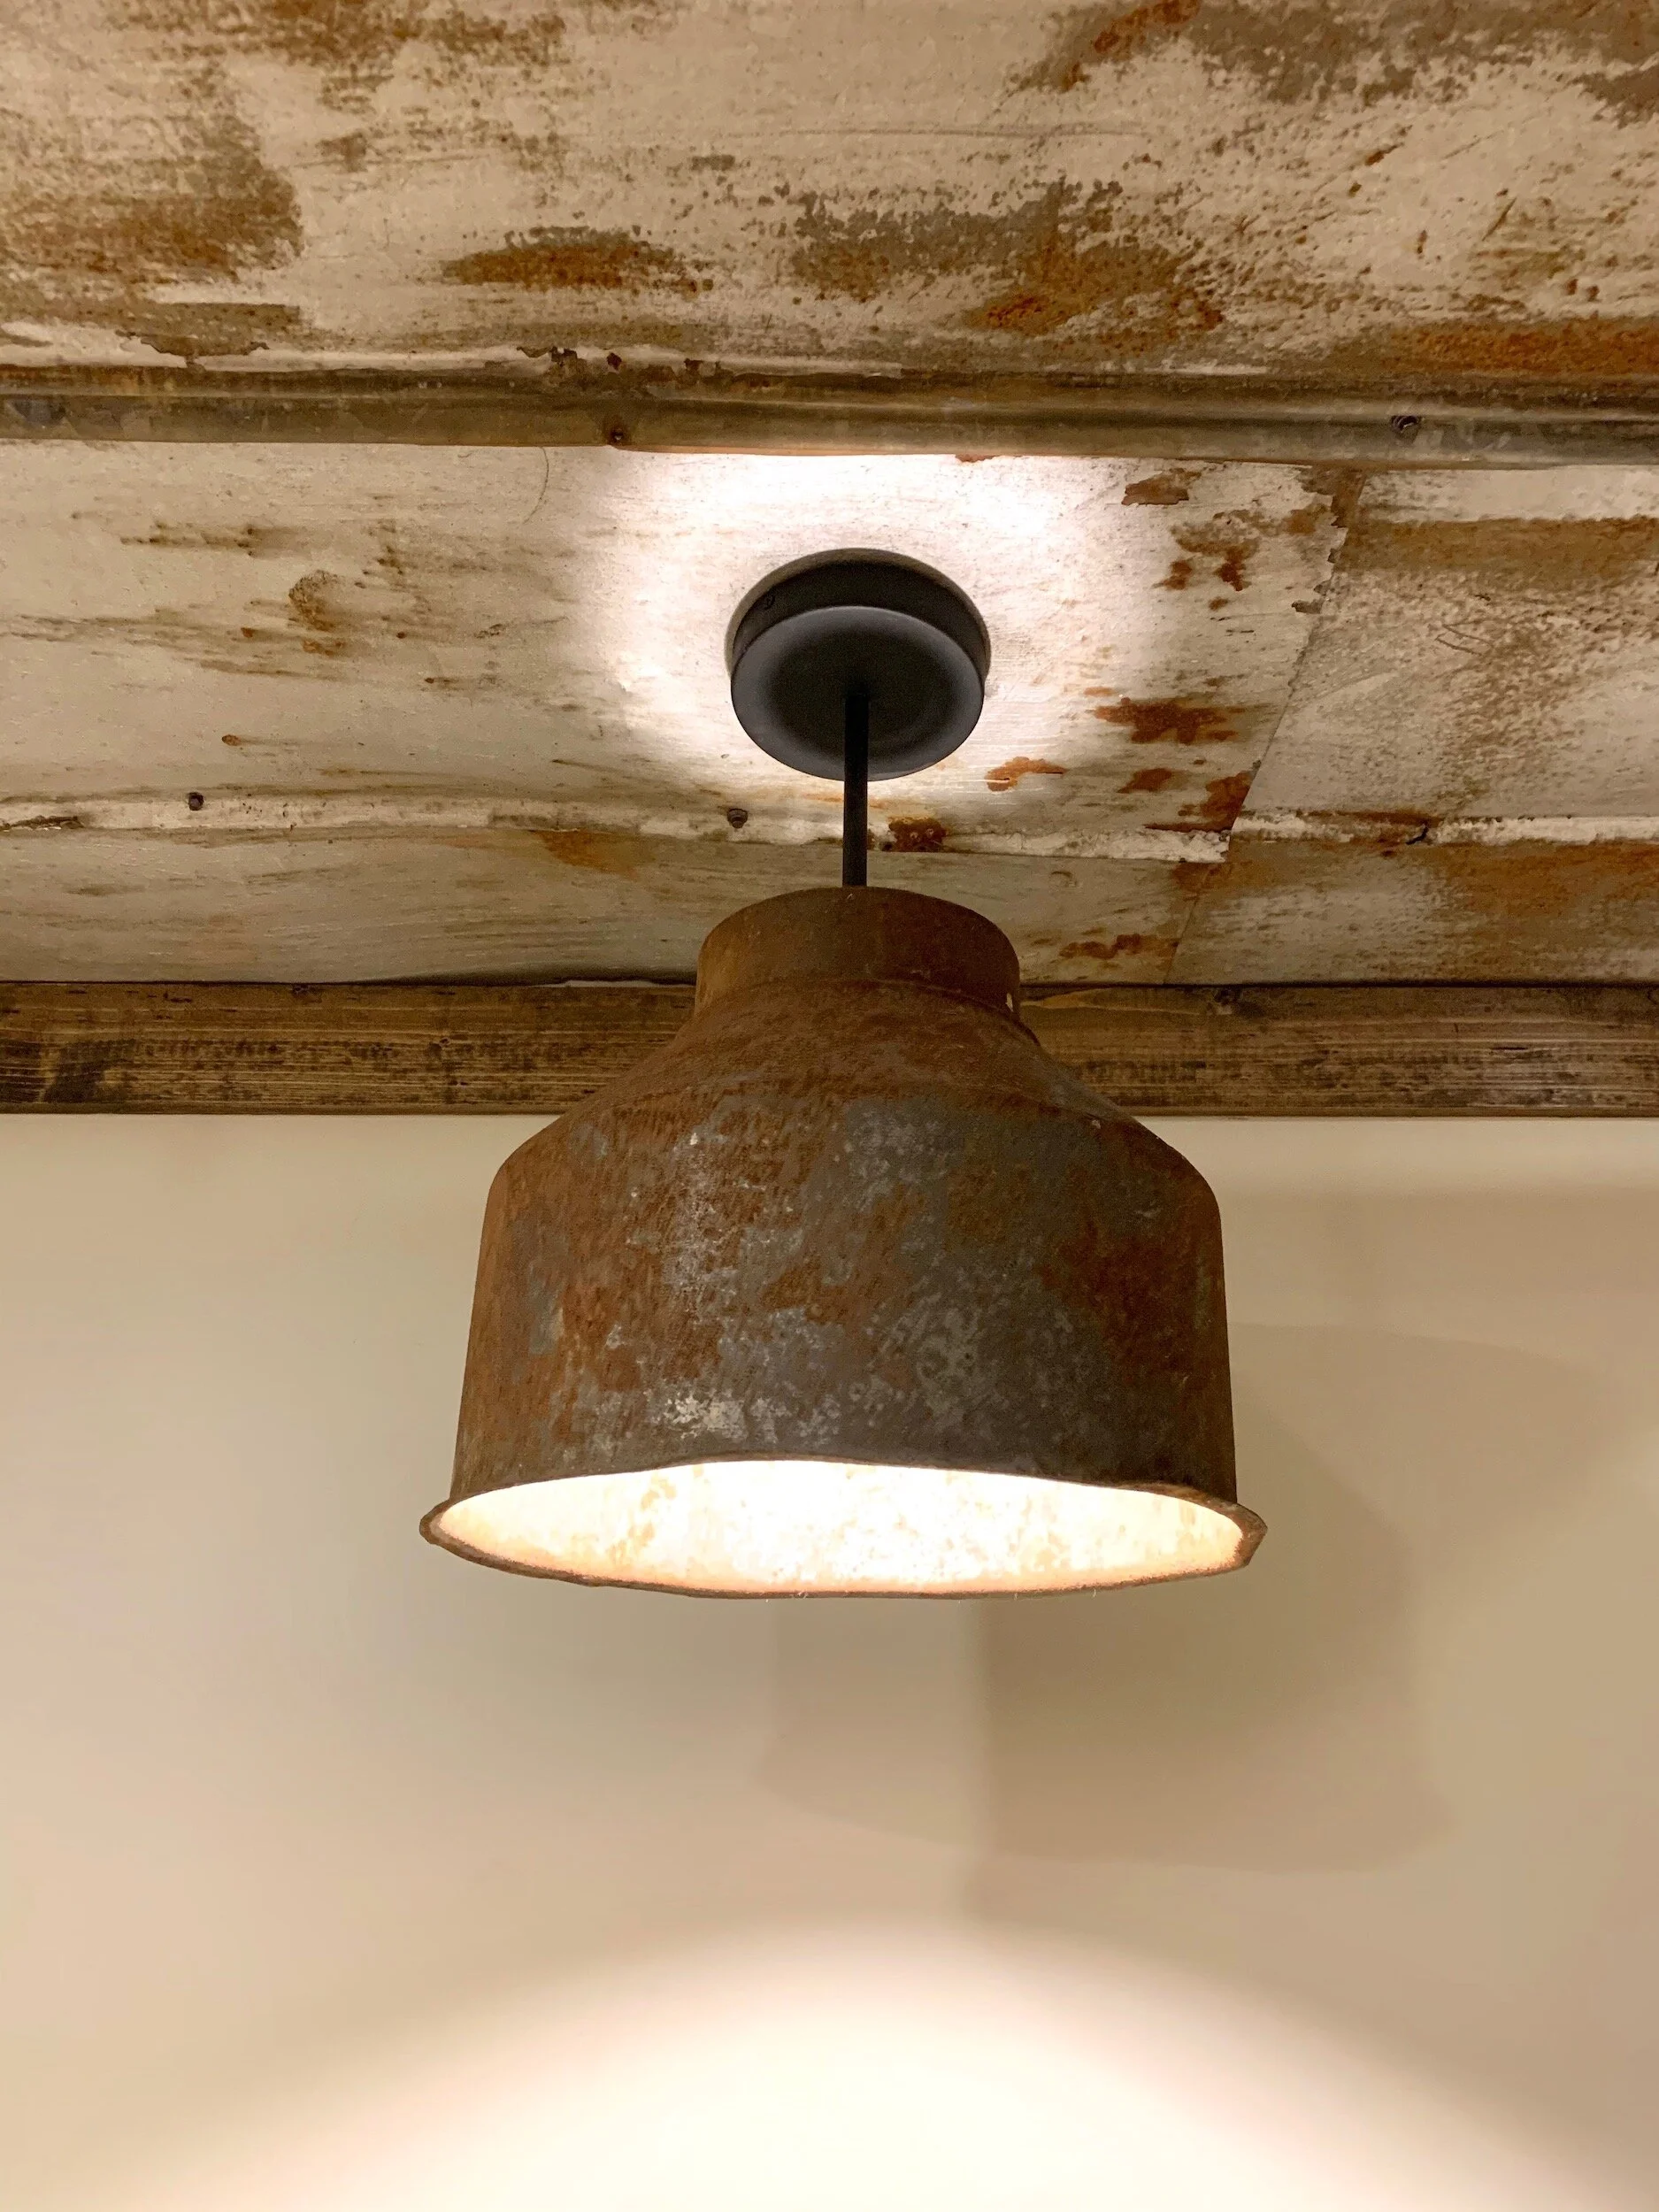
But that was it…they were just good, not to mention pricey. I hadn’t had the “I’ll know it when I see it” feeling yet. So I started racking my brain. During one of our latest trips to Lowes I checked out the outdoor lighting section and saw a nice fixture but it didn’t come in black. I could work with that. I also dug in my pile of rusty parts from various picks and found - what we learned later was an old milk strainer - that I could use as a pendant. Enter a little DIY action.
Items Needed for Giving Your Fixture a New Look
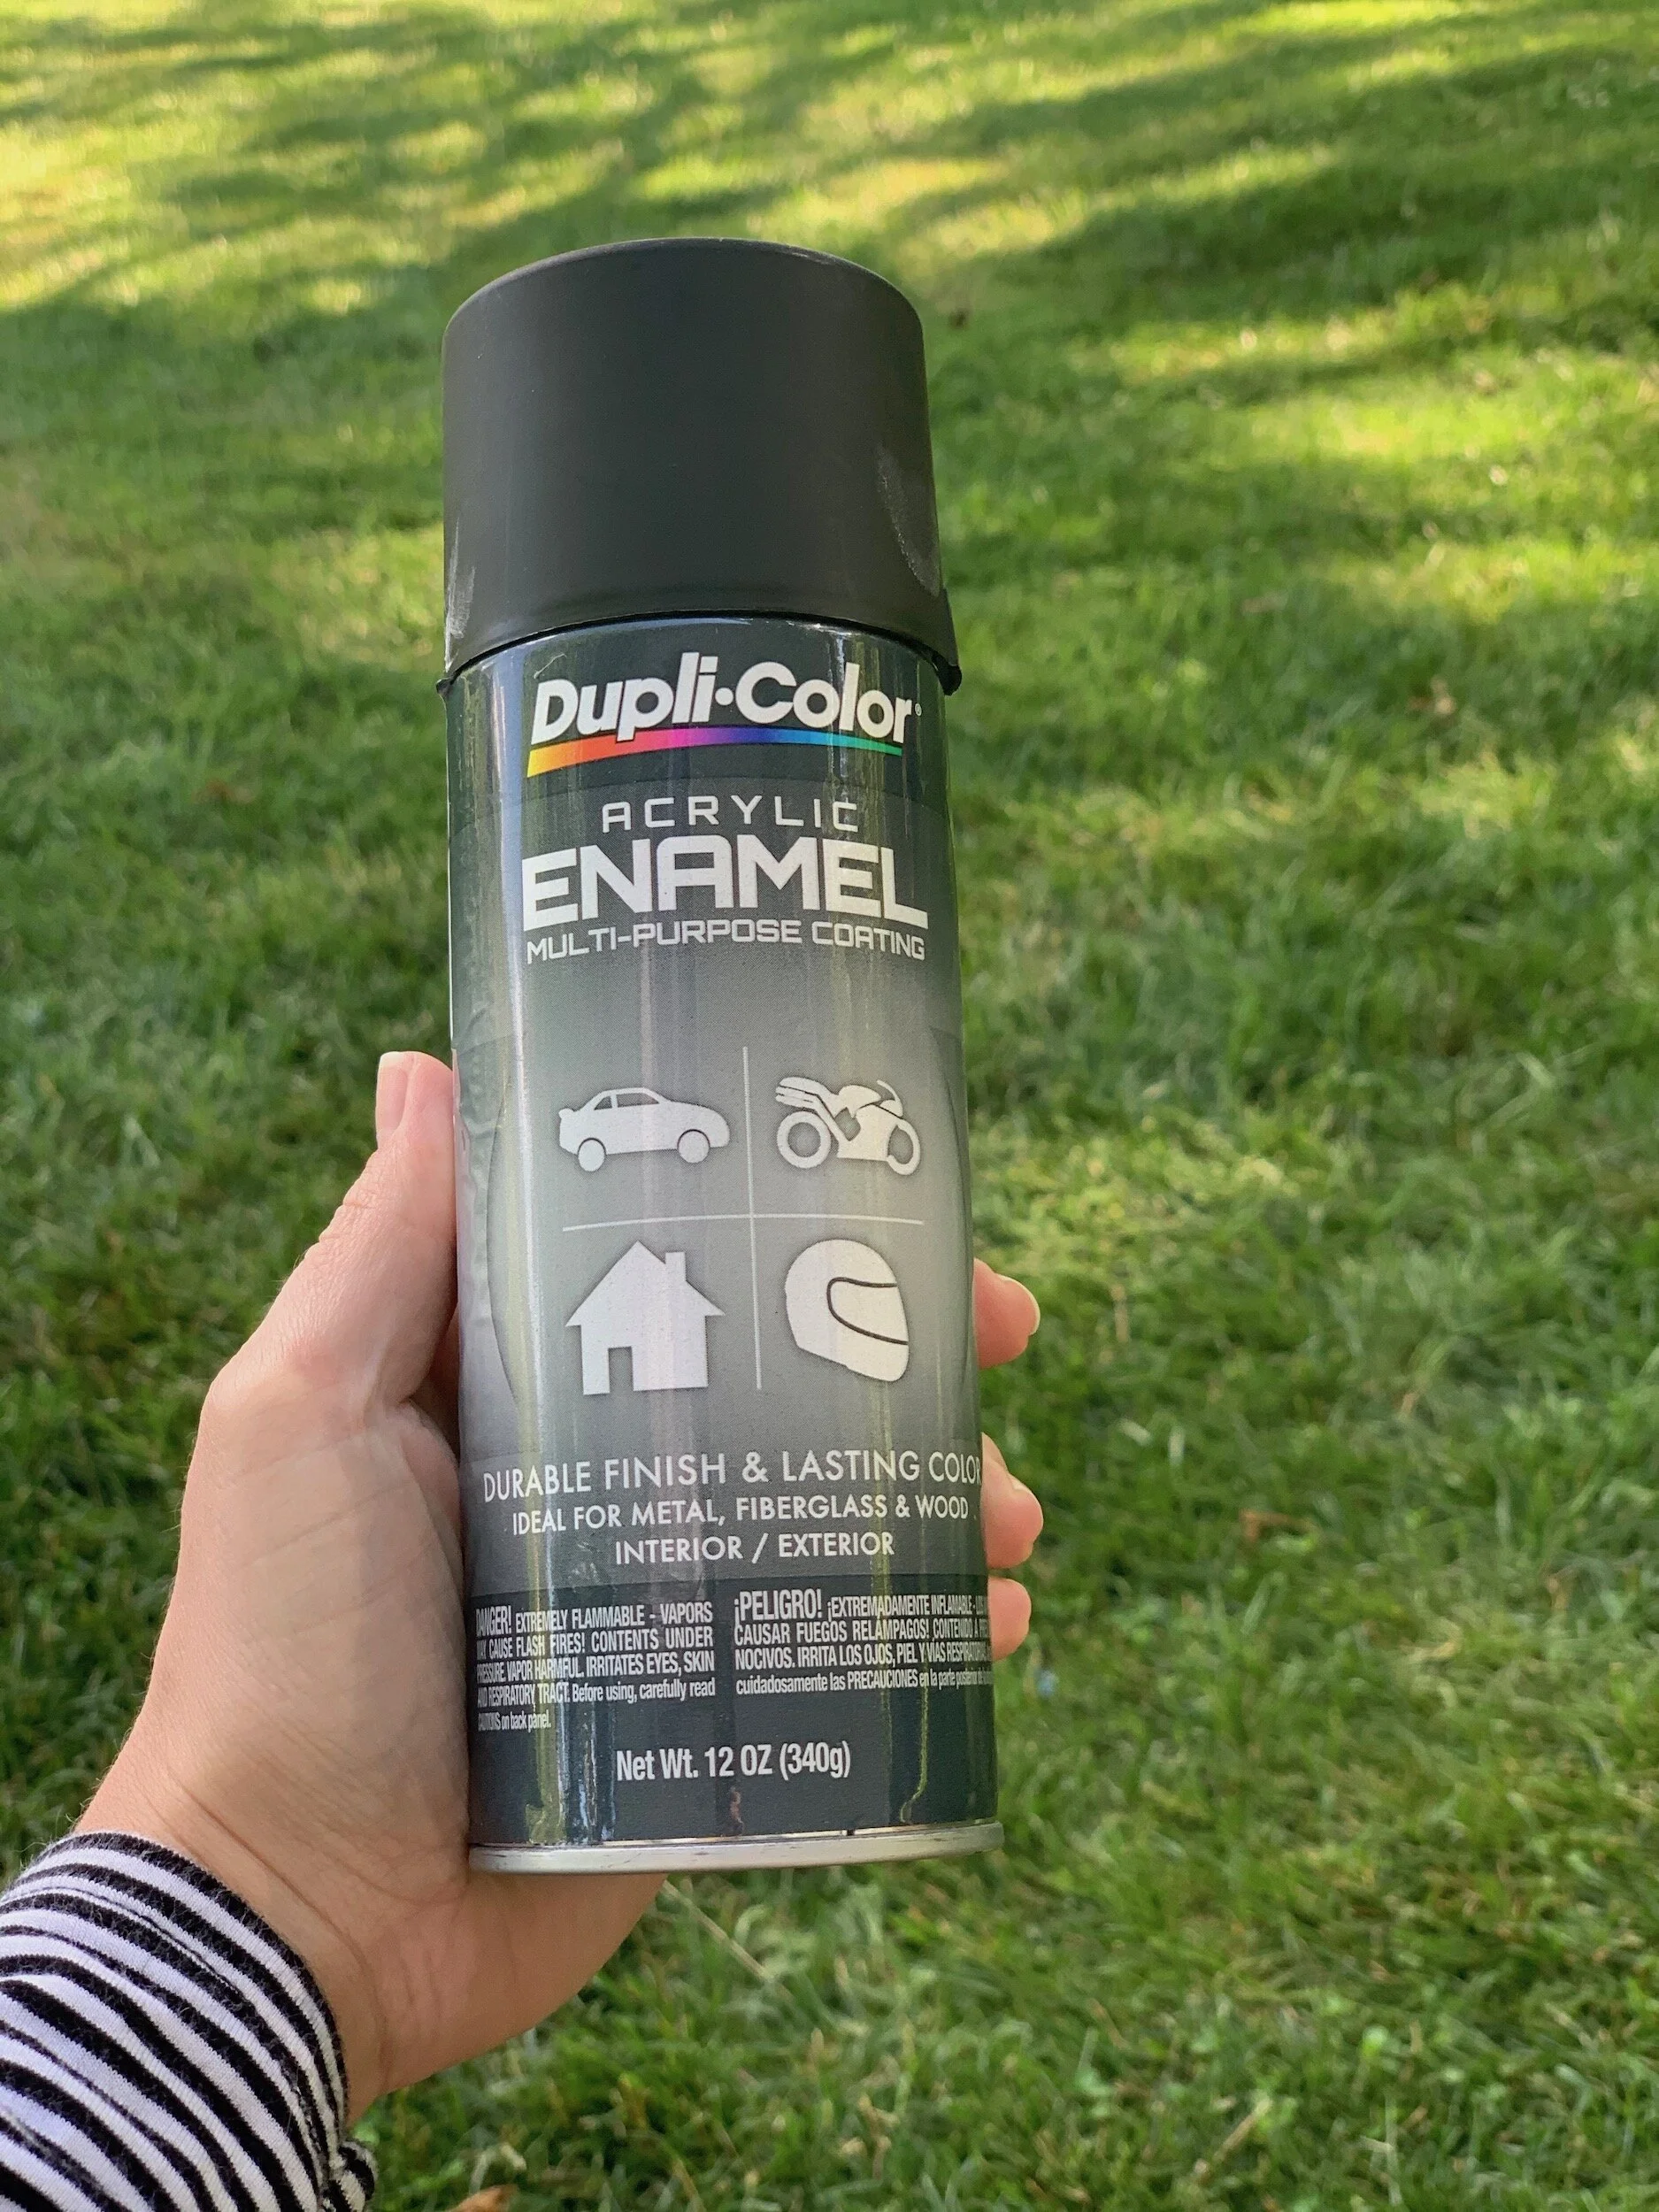
Automative spray paint in Matte Black
Lighting Fixtures + any associated parts, screws, wire nuts etc. for install
Painters tape (Frog Tape is my favorite)
Mineral Spirits (for touch ups as needed)
A side note about the automotive spray paint. I’ve used this stuff since we bought our first house in 2011. Its super durable and can withstand high heat. Rustoleum makes some great spray paint options for metal finishes, which I have not used or tested yet. So if you’re interested in something other than black or oil rubbed bronze it could be worth a test. Otherwise I use Matte Black and Dark Brown in the automotive spray paint.
Directions
Prep your fixture as needed. A little light sanding never hurts and you want to tape off any of the electrical areas, wires, where the light bulbs go, etc. Anywhere the paint isn’t supposed to go - cover it up. If its an existing fixture that you’re giving a little revamp to - make sure to clean it well. Remove any dust or oily residues.
Spray paint your fixture
Let dry
Install fixture (reassemble as needed)
Stand back and admire the transformation
Items Needed for Making Your Own Fixture
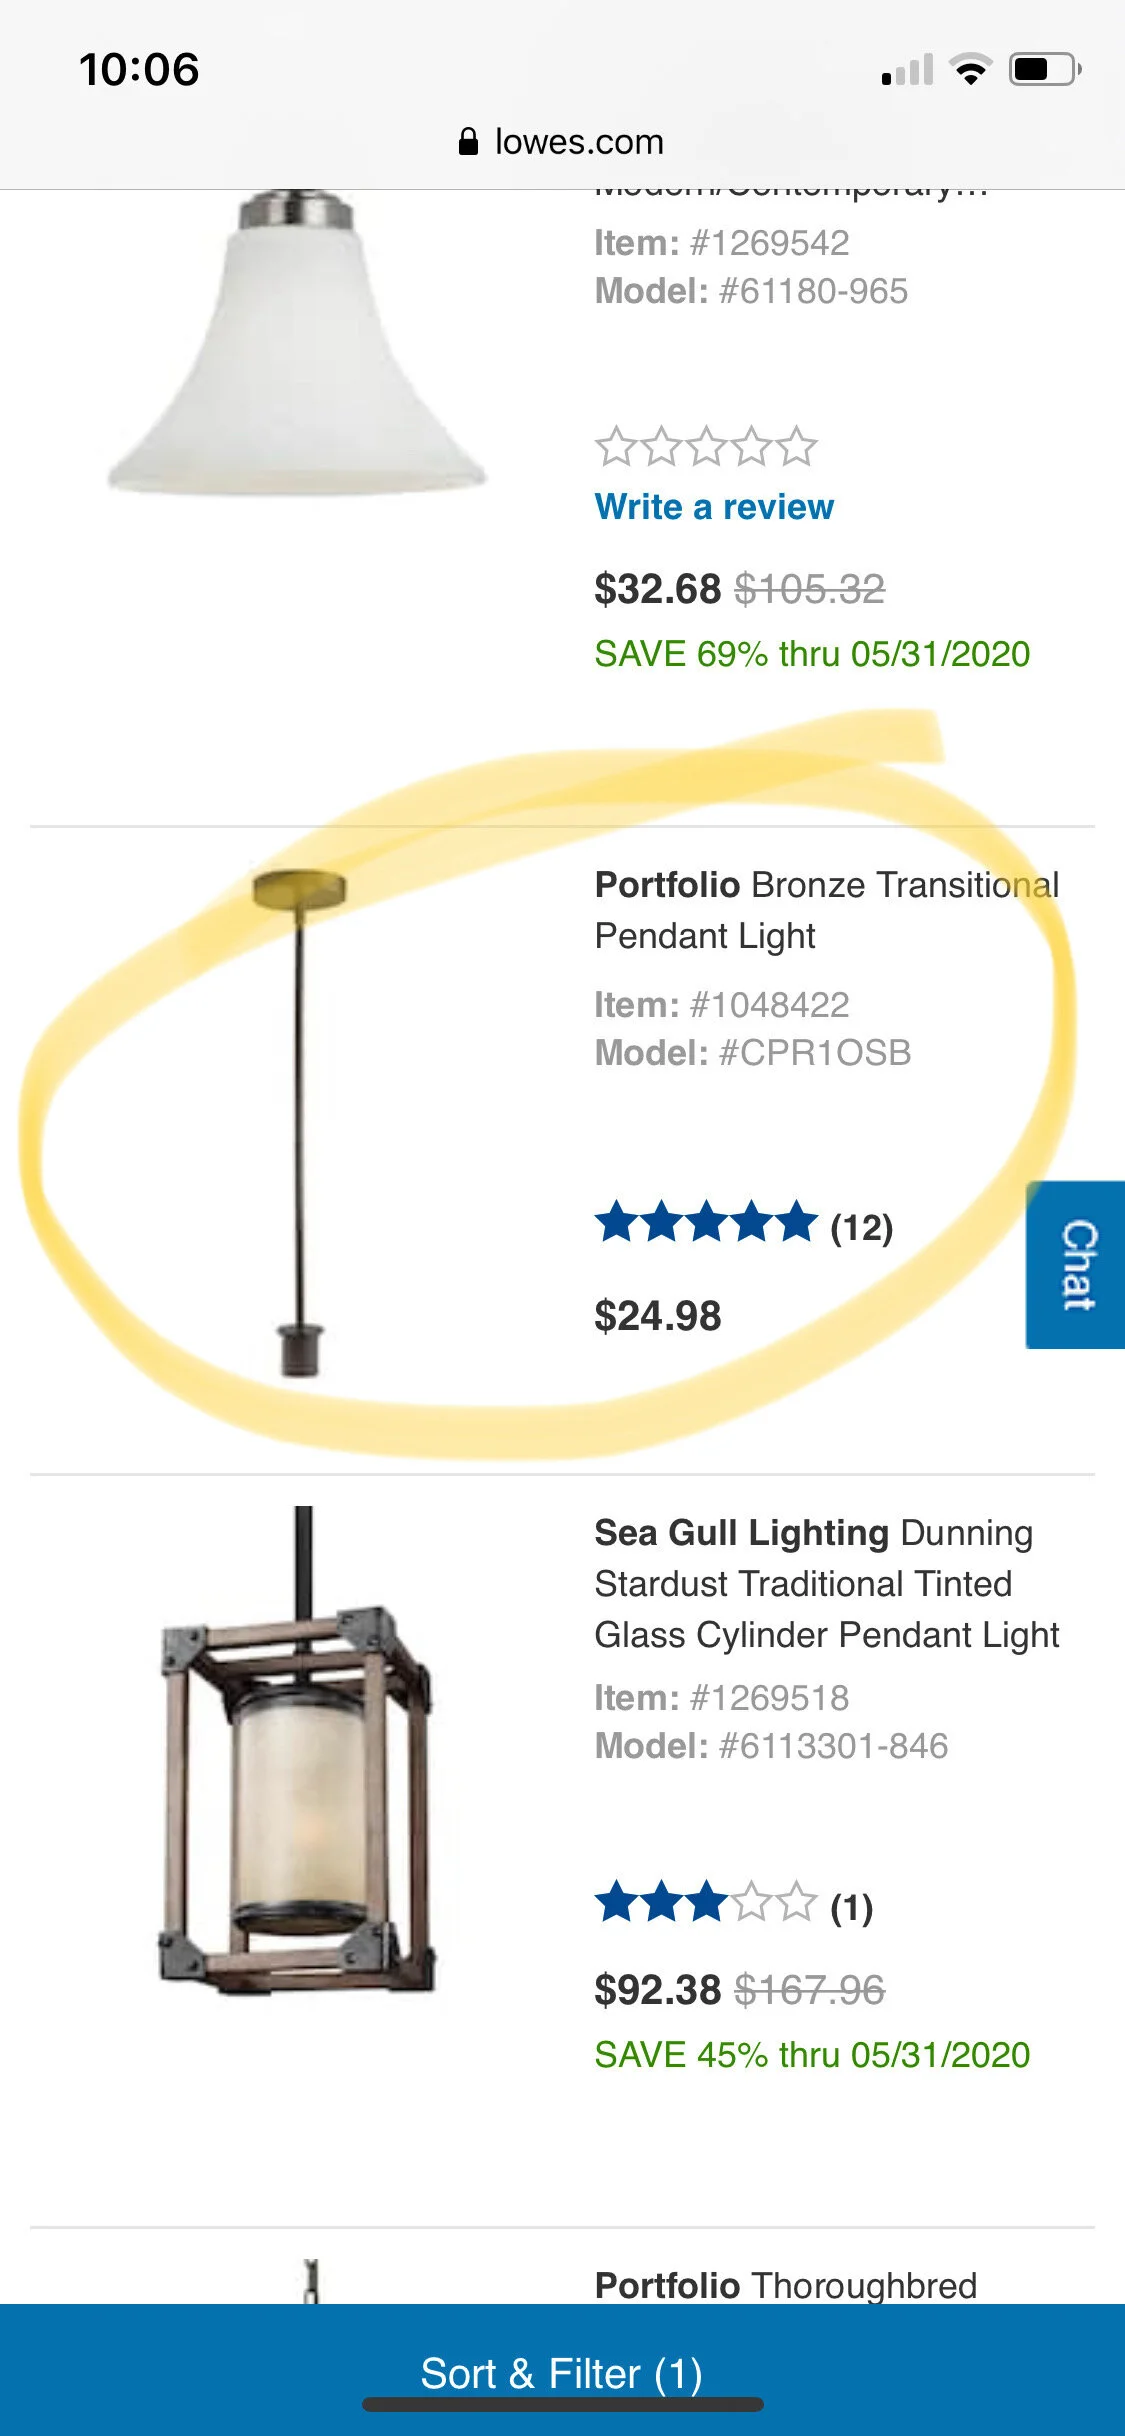
Lighting Fixture - “Custom” Pendant Lighting Section at Lowes
Found object shade
Drill & drill bits
Automotive Spray Paint as needed
The pendant light we picked up from Lowes only comes in Oil Rubbed Bronze and Brushed Nickel. A quick spritz with our spray paint gave it a quick update.
Directions
Paint fixture desired color
Clean found object as needed
Drill hole in found shade the size of the pendant rod as needed.
Install pendant light
Install shade as normal
Clearly several of the instructions say as needed because we are talking about custom lighting and it all depends on the look you are going for. But the point is both of these projects are totally doable. DIY can be a little intimidating sometimes, but these lighting projects are super simple and only require a few tools/items. Plus we were able to save some money by getting a little creative. You can do this!


