DIY Master Bathroom Door Transformation
My projects almost always begin with, “it was such a great deal!”. Whether I’m at an estate sale or driving past a pile of junk I love a good deal. In the case of our master bathroom door I got a run for my money. Either way projects are always a good learning experience and it was a nice opportunity to test a lot of the paint strippers at Home Depot.
During a trip to Architectural Salvage in Greensboro, NC my mom and I spotted this gem. It was solid, paint was chipping (in theory a good sign for easy removal) and was only $20! I knew it would be perfect for the master bathroom.
During the renovation we ended up restoring several old wood doors for the interior. So by the time we were ready to work on the master bath door I was mentally prepared for a pretty smooth project. I mean this door has a huge window - even less wood to clean, strip and sand!! Ha! Rarely do things go according to plan.
Check out the process I like to use below with a few of the mishaps thrown in. I’d love to hear if you have tips to share or fun mishap stories!
Supplies Needed
Stripper (my favorite is CitriStrip. We ended up using EZ Strip Commercial Stripper for this project.)
Metal Scraper Multi-tool (Lowes and Home Depot sell a 10-in-1 1.5 Inch Paint Multi-Tool)
Brass wire brushes (I use both the 1/2 inch and 1 inch size)
Purple Power
Sand paper (variety of 120-220 grit)
Electric sander (orbital or sheet)
Sanding block
New or refinished door hardware
PPE: Gloves, Safety Glasses, respirator for sanding.
Instructions
Step 1
Clean with concentrated Purple Power.
Step 2
Use Citristrip stripper (Available and Home Depot and Lowes) to remove old finish/paint
Nothing happened other than I had a now cleaner version of the door. Citristrip is my go-to paint stripper, but it was not working, the paint simply wasn’t budging. Off to Home Depot I went and after a few trials found a stripper that seemed to work “okay”.
Step 3
If Citristrip doesn’t work, back up and punt.
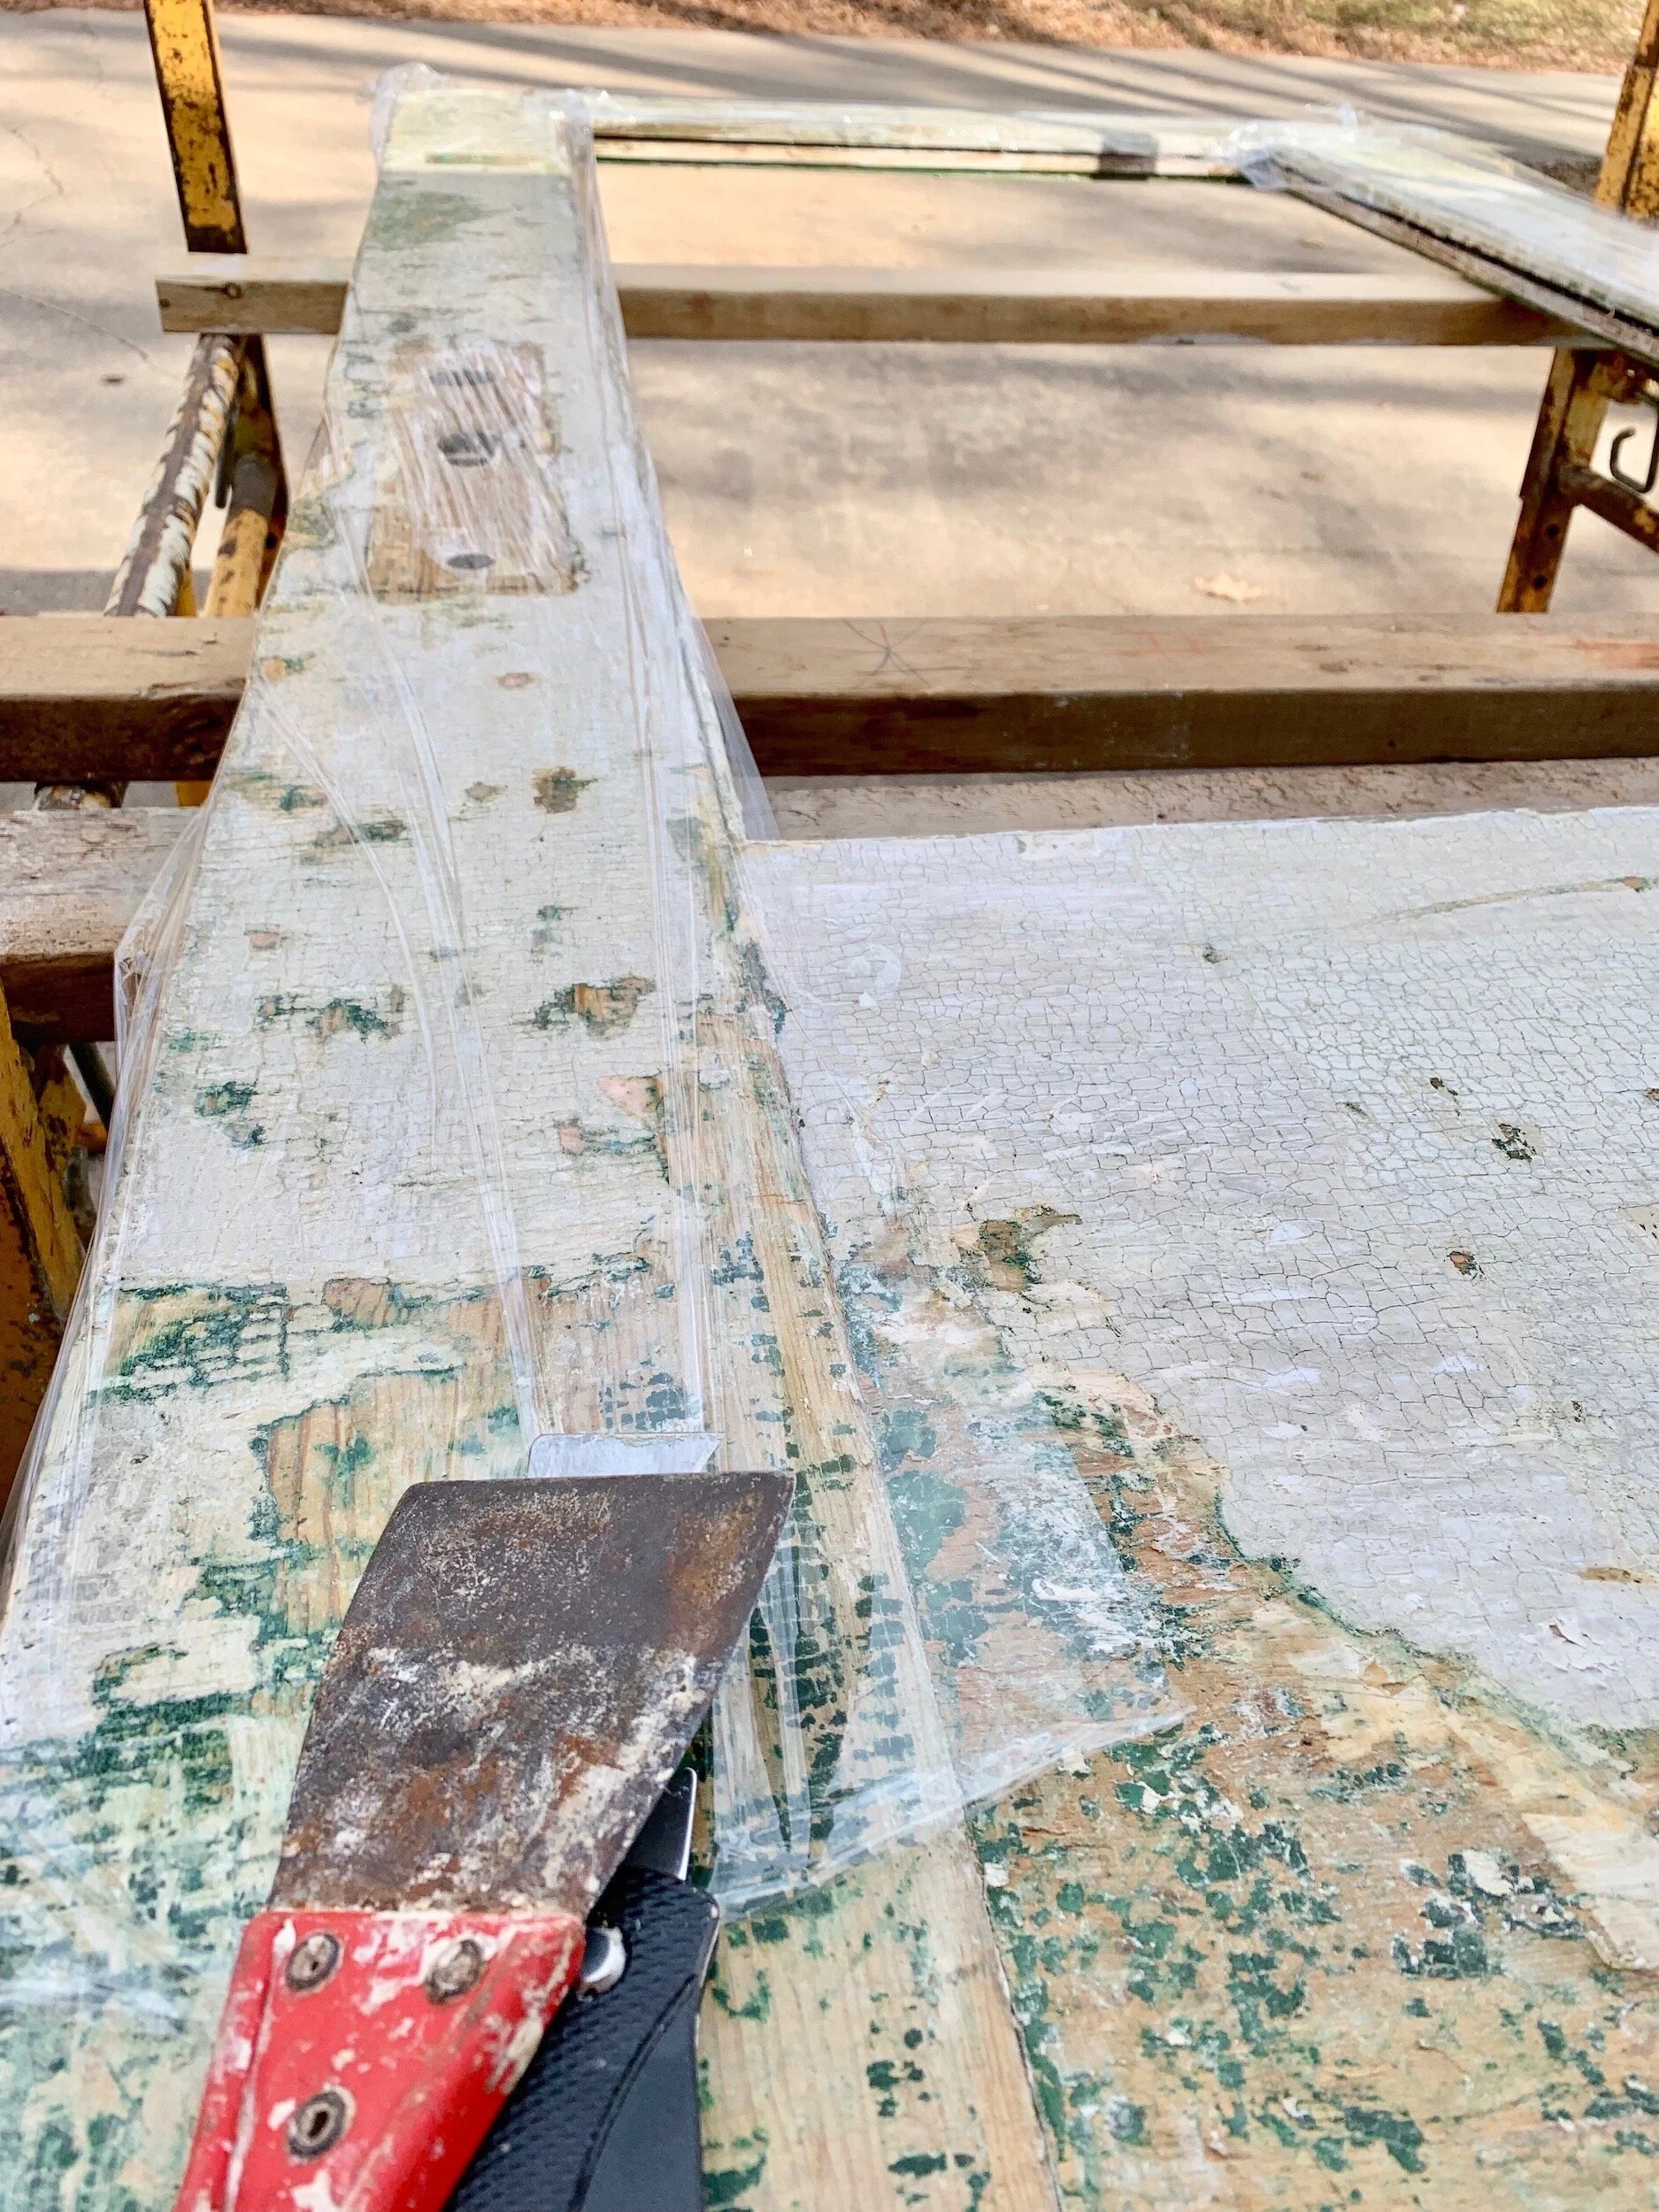
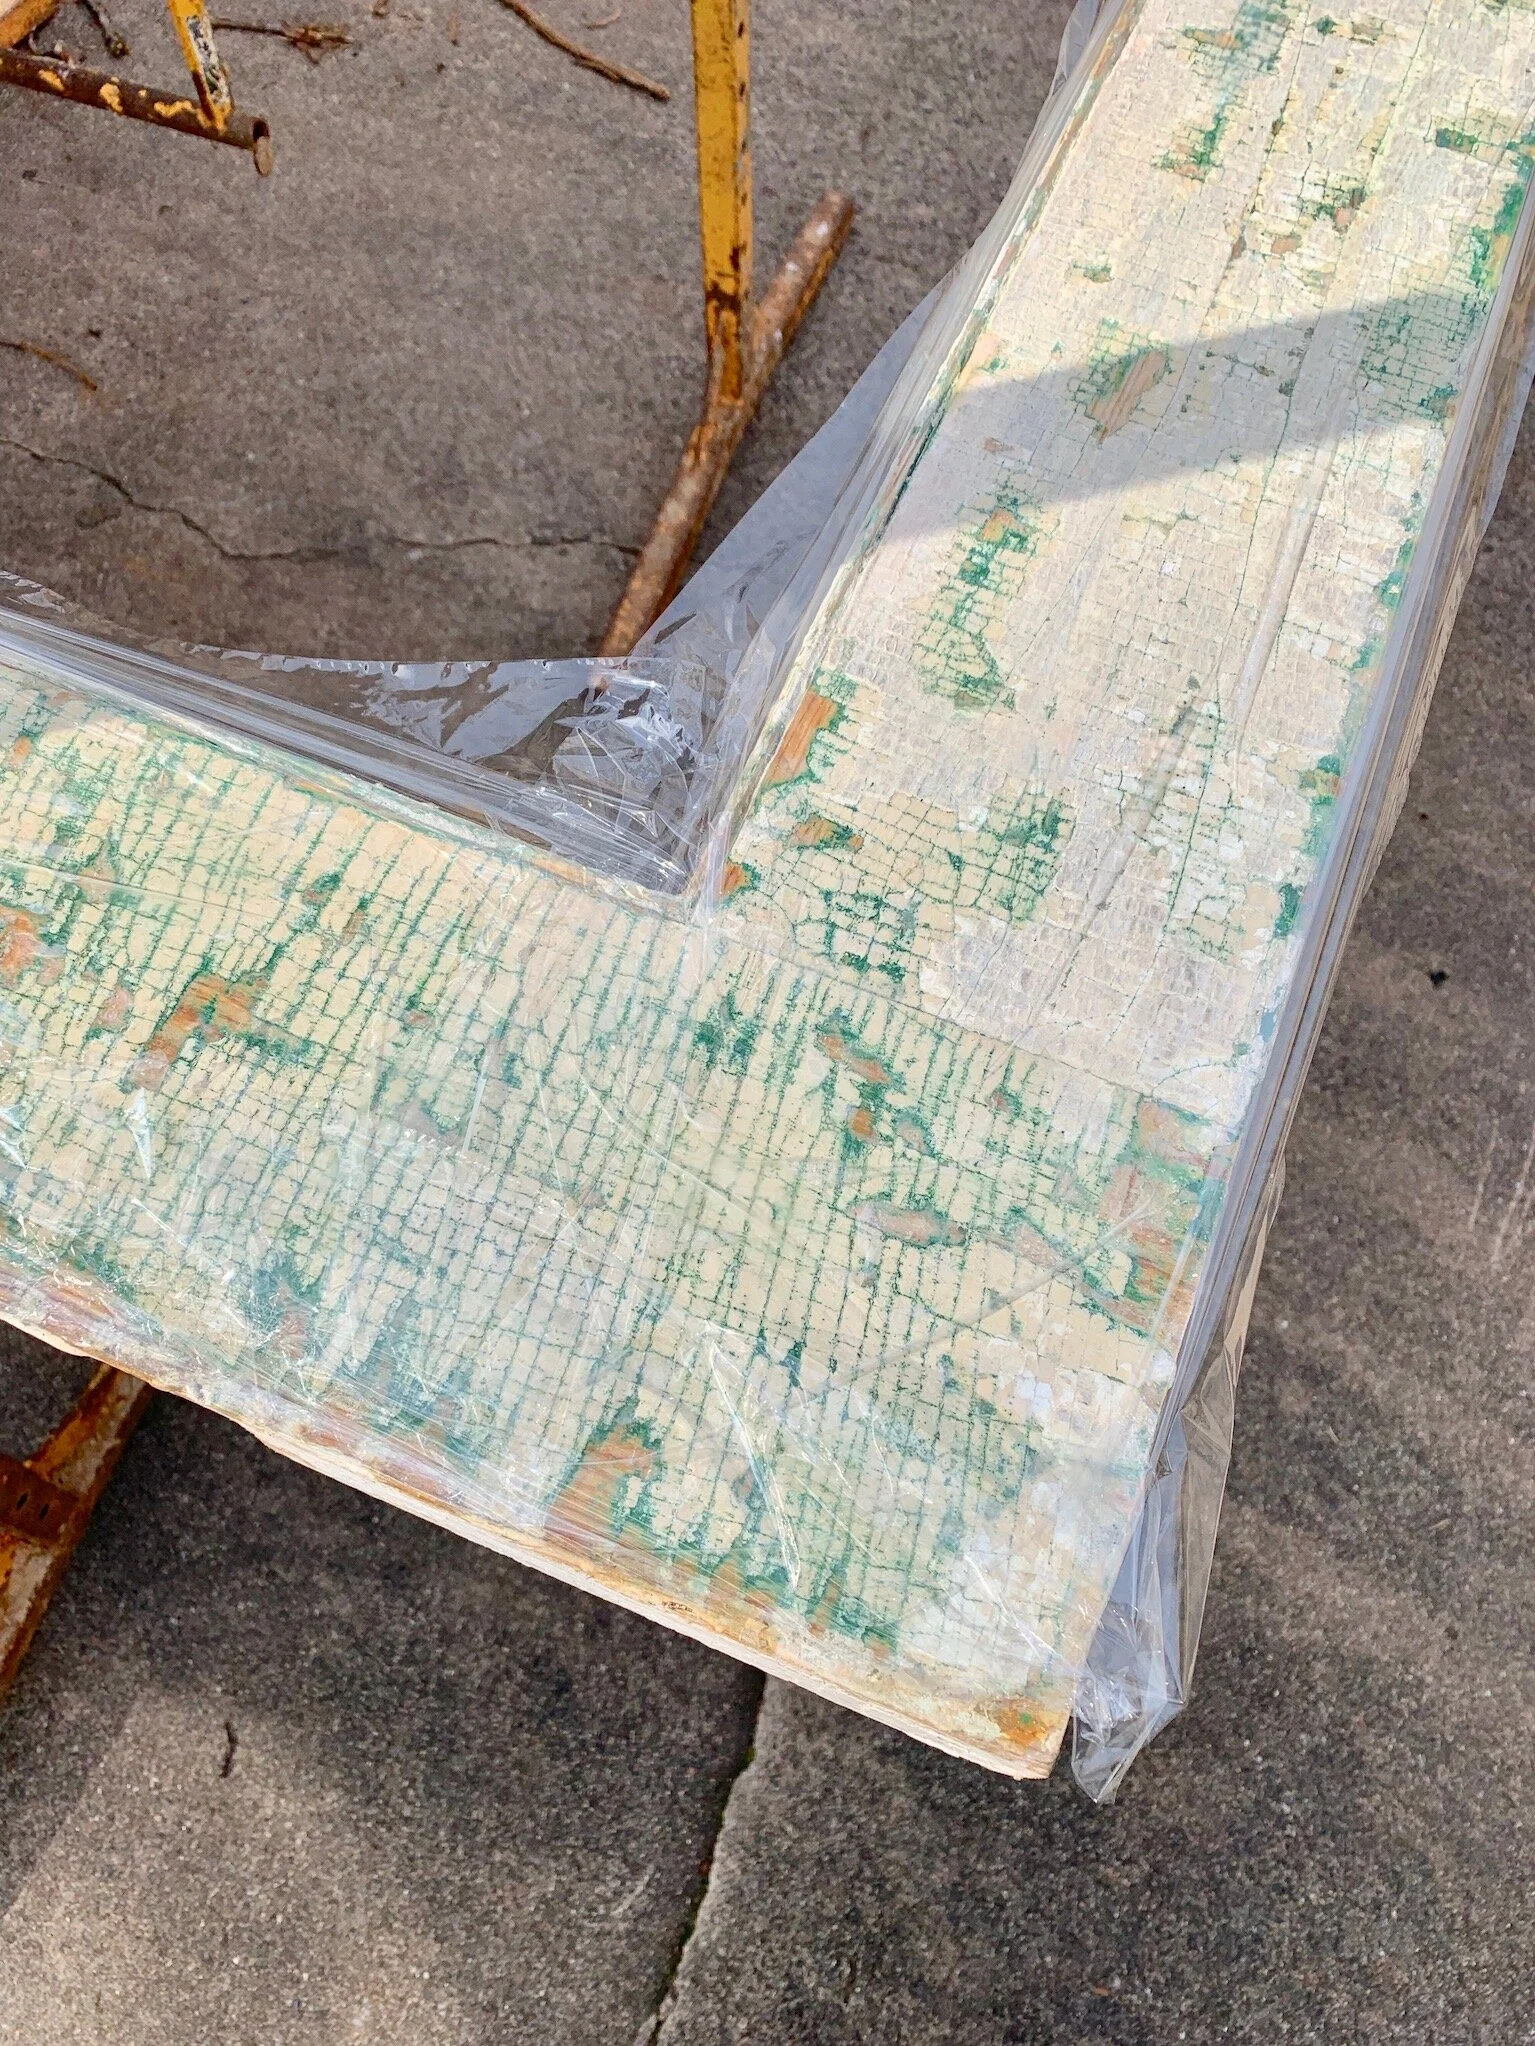
After testing a few other paint stripper products I was able to make the most progress getting layers of paint off with EZ Strip Commercial Stripper. EZ Strip works a bit differently than Citristrip. My process is below, but the instructions are always a good choice too. Plastic is important in this step. It keeps the paint stripper from drying so it can keep working its magic.
Apply thick layer of EZ Strip (I used putty knife - pictured).
Cover with plastic (I used Saran Wrap) to prevent air drying of the EZ Strip.
Leave for at least 24 hours.
Use scraper 10-in-1 tool to scrape away layers.
Step 4
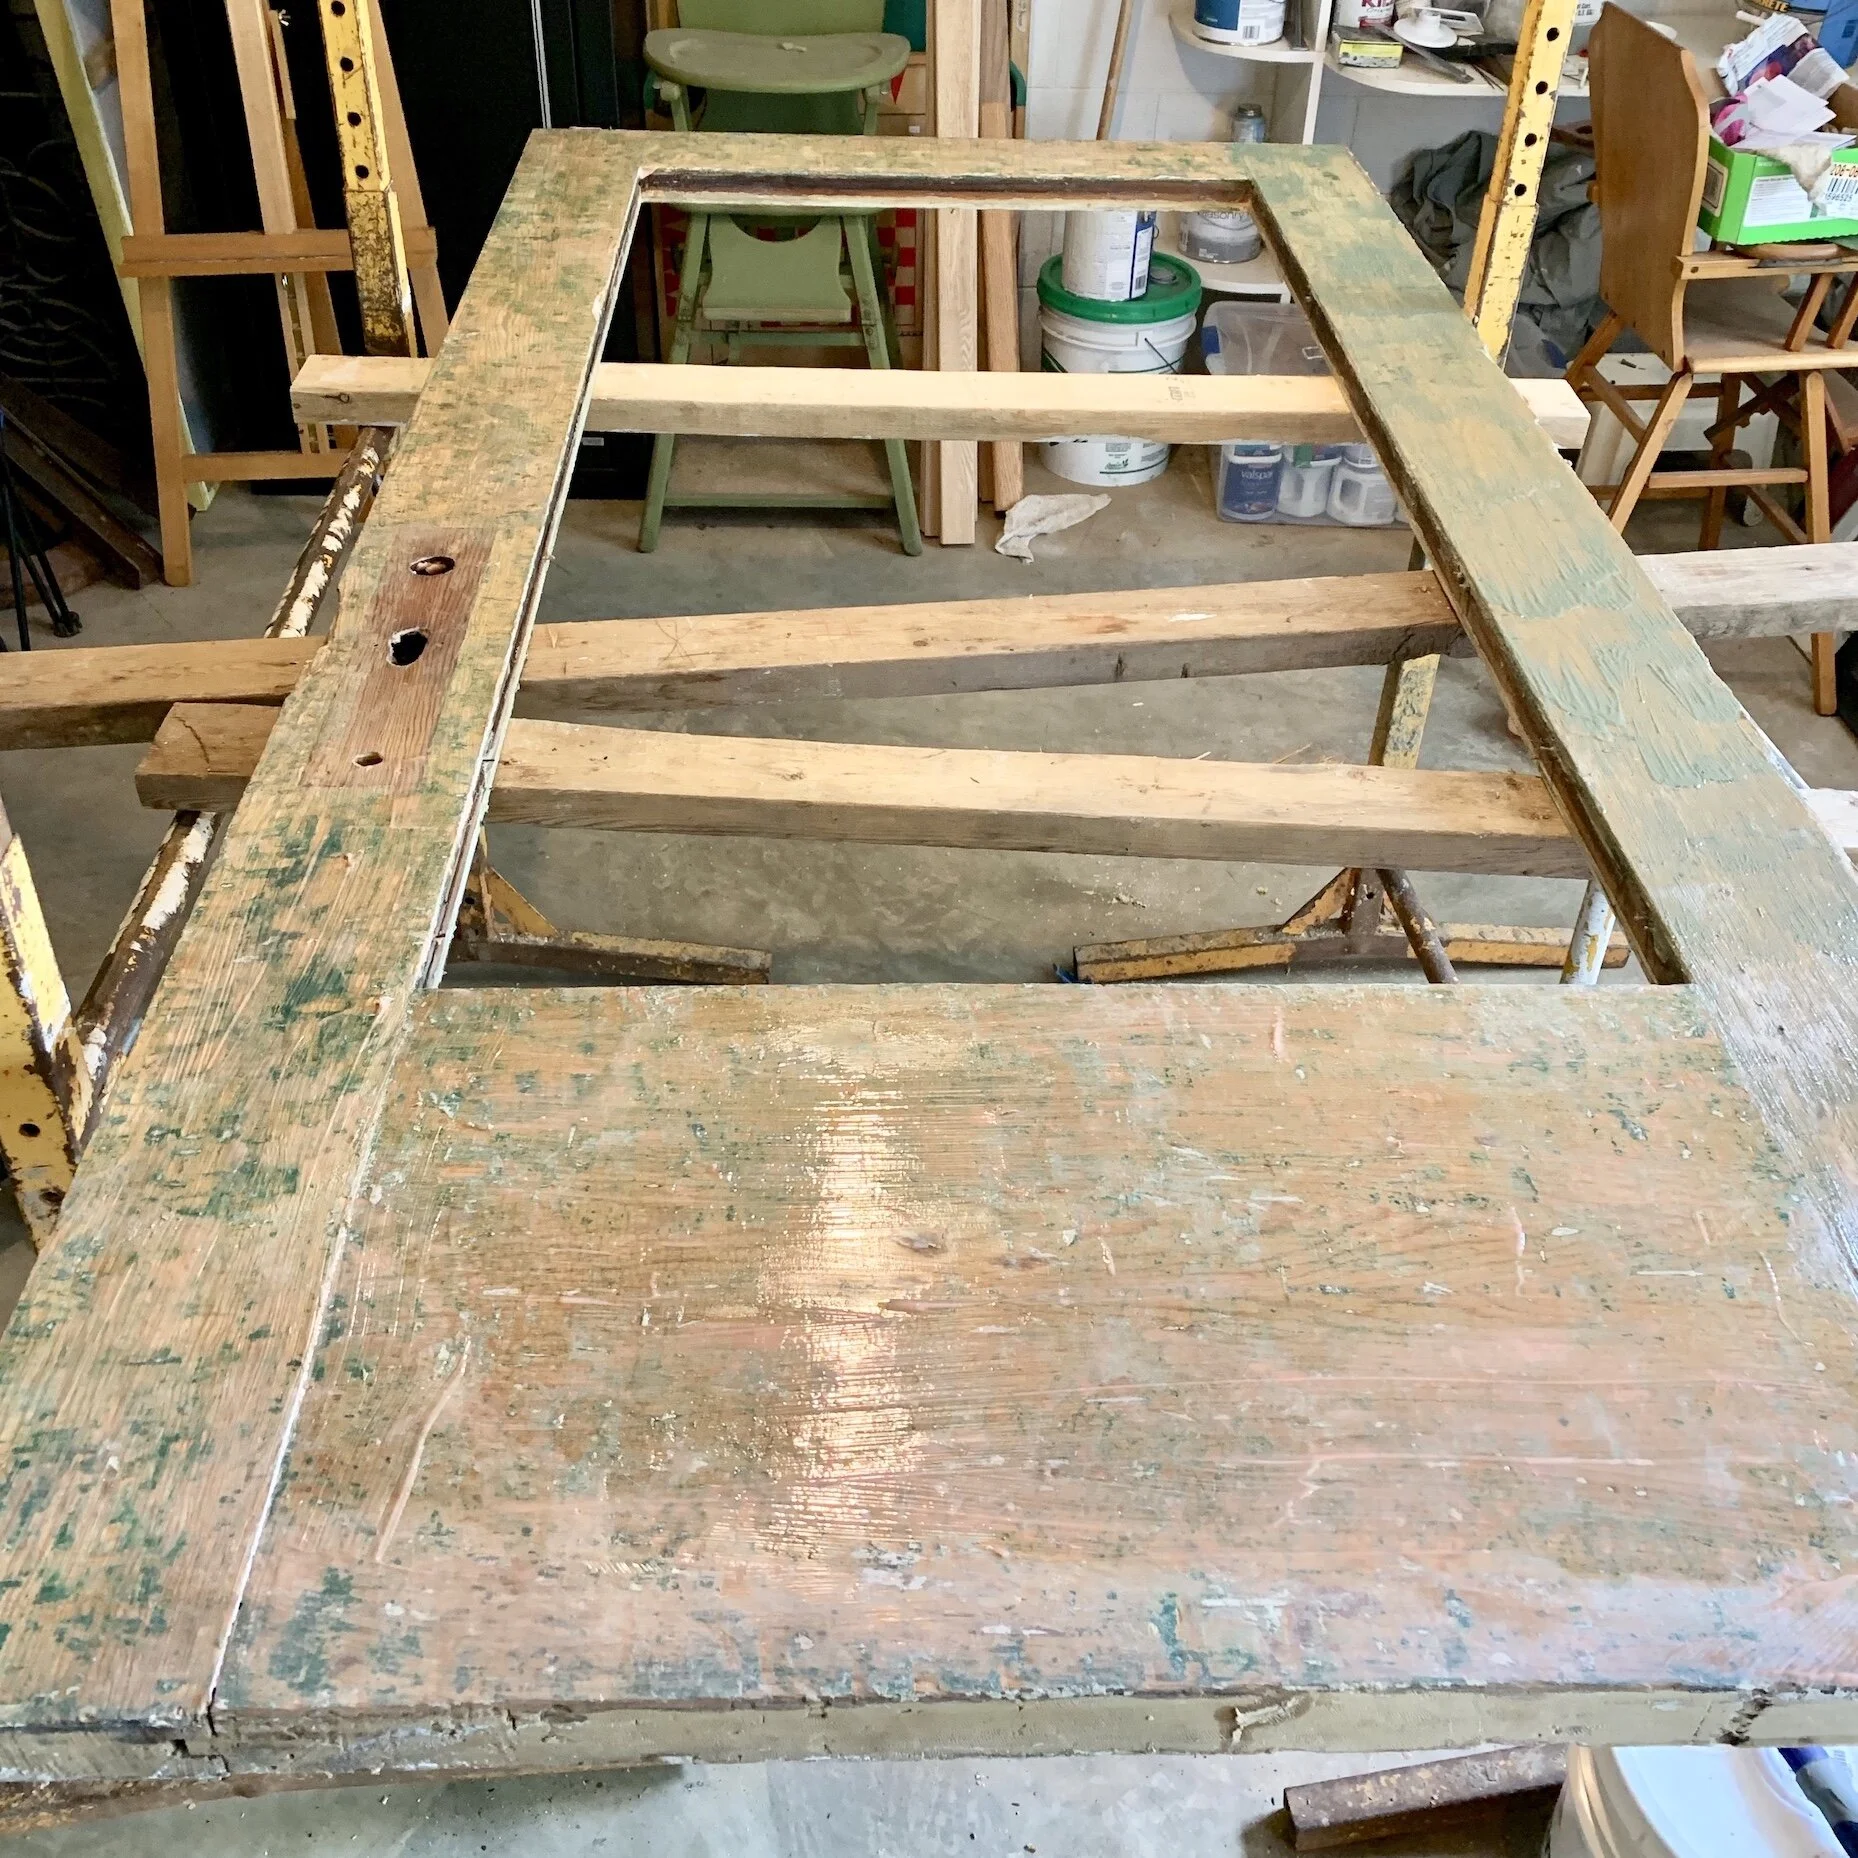
Scrape away paint layers.
I like to use a metal scraper tool instead of plastic. The 10-in-1 works much better to scrape away stubborn paint, and can eliminate more layers at a time than plastic scrapers. Word of caution, not only should you wear PPE during all projects, but with this scraper be careful to not apply too much pressure. The stripper should do most of the work, if you start to use force you can start to shave away pieces of wood along with your paint if you’re not careful.
Step 5
Repeat Step 3 and 4.
Step 6
Apply last layer of stripper and scrub with wire scratch brush(es).
After stripping and scraping all paint possible, there is usually still paint left that the scraper could not get to. Next step is to do one last layer of stripper and use a brass wire brush to eliminate remaining or stubborn areas of paint. This time I used CitriStrip. Once I got past the layer of white paint the remaining paint was much more forgiving.
Step 7
Clean away remaining residue with Purple Power.
Before sanding I do one last cleaning step with the brass wire brush and concentrated Purple Power. The goal is to get as much paint off as possible so when we go to sanding the sandpaper doesn’t get gummed up with paint and we can focus on finishing the wood itself.
Step 8
Make any necessary repairs.
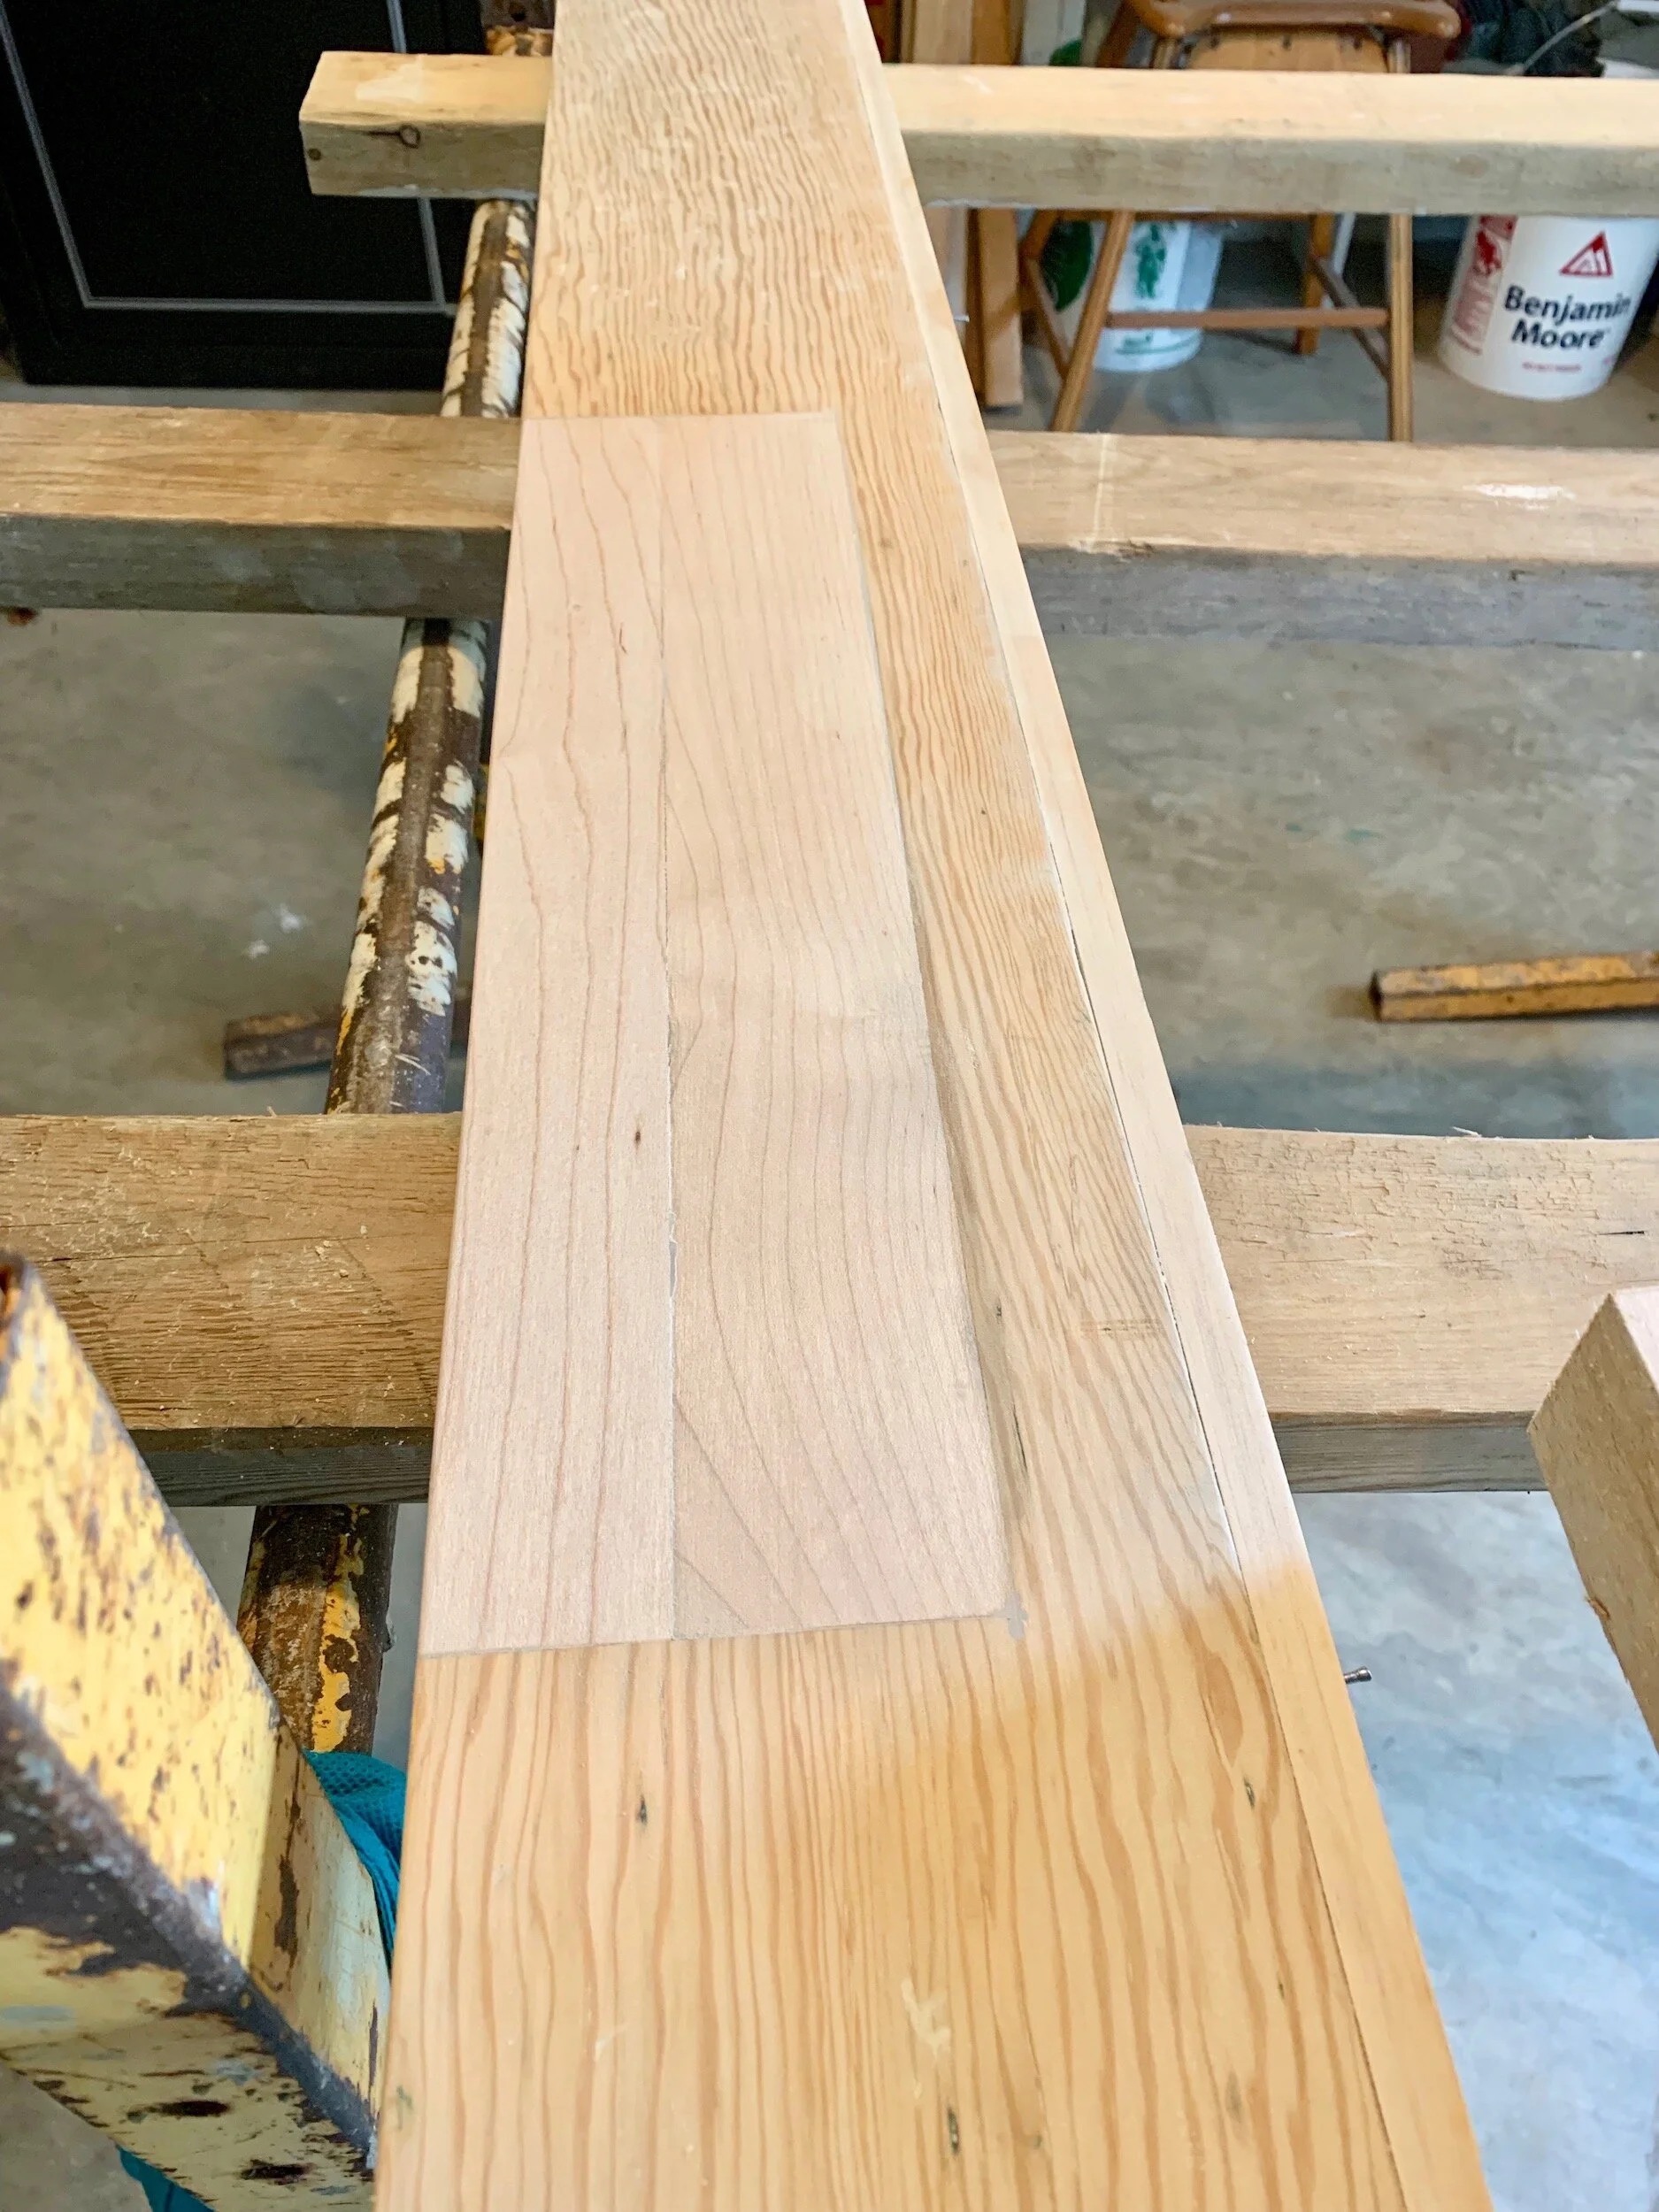
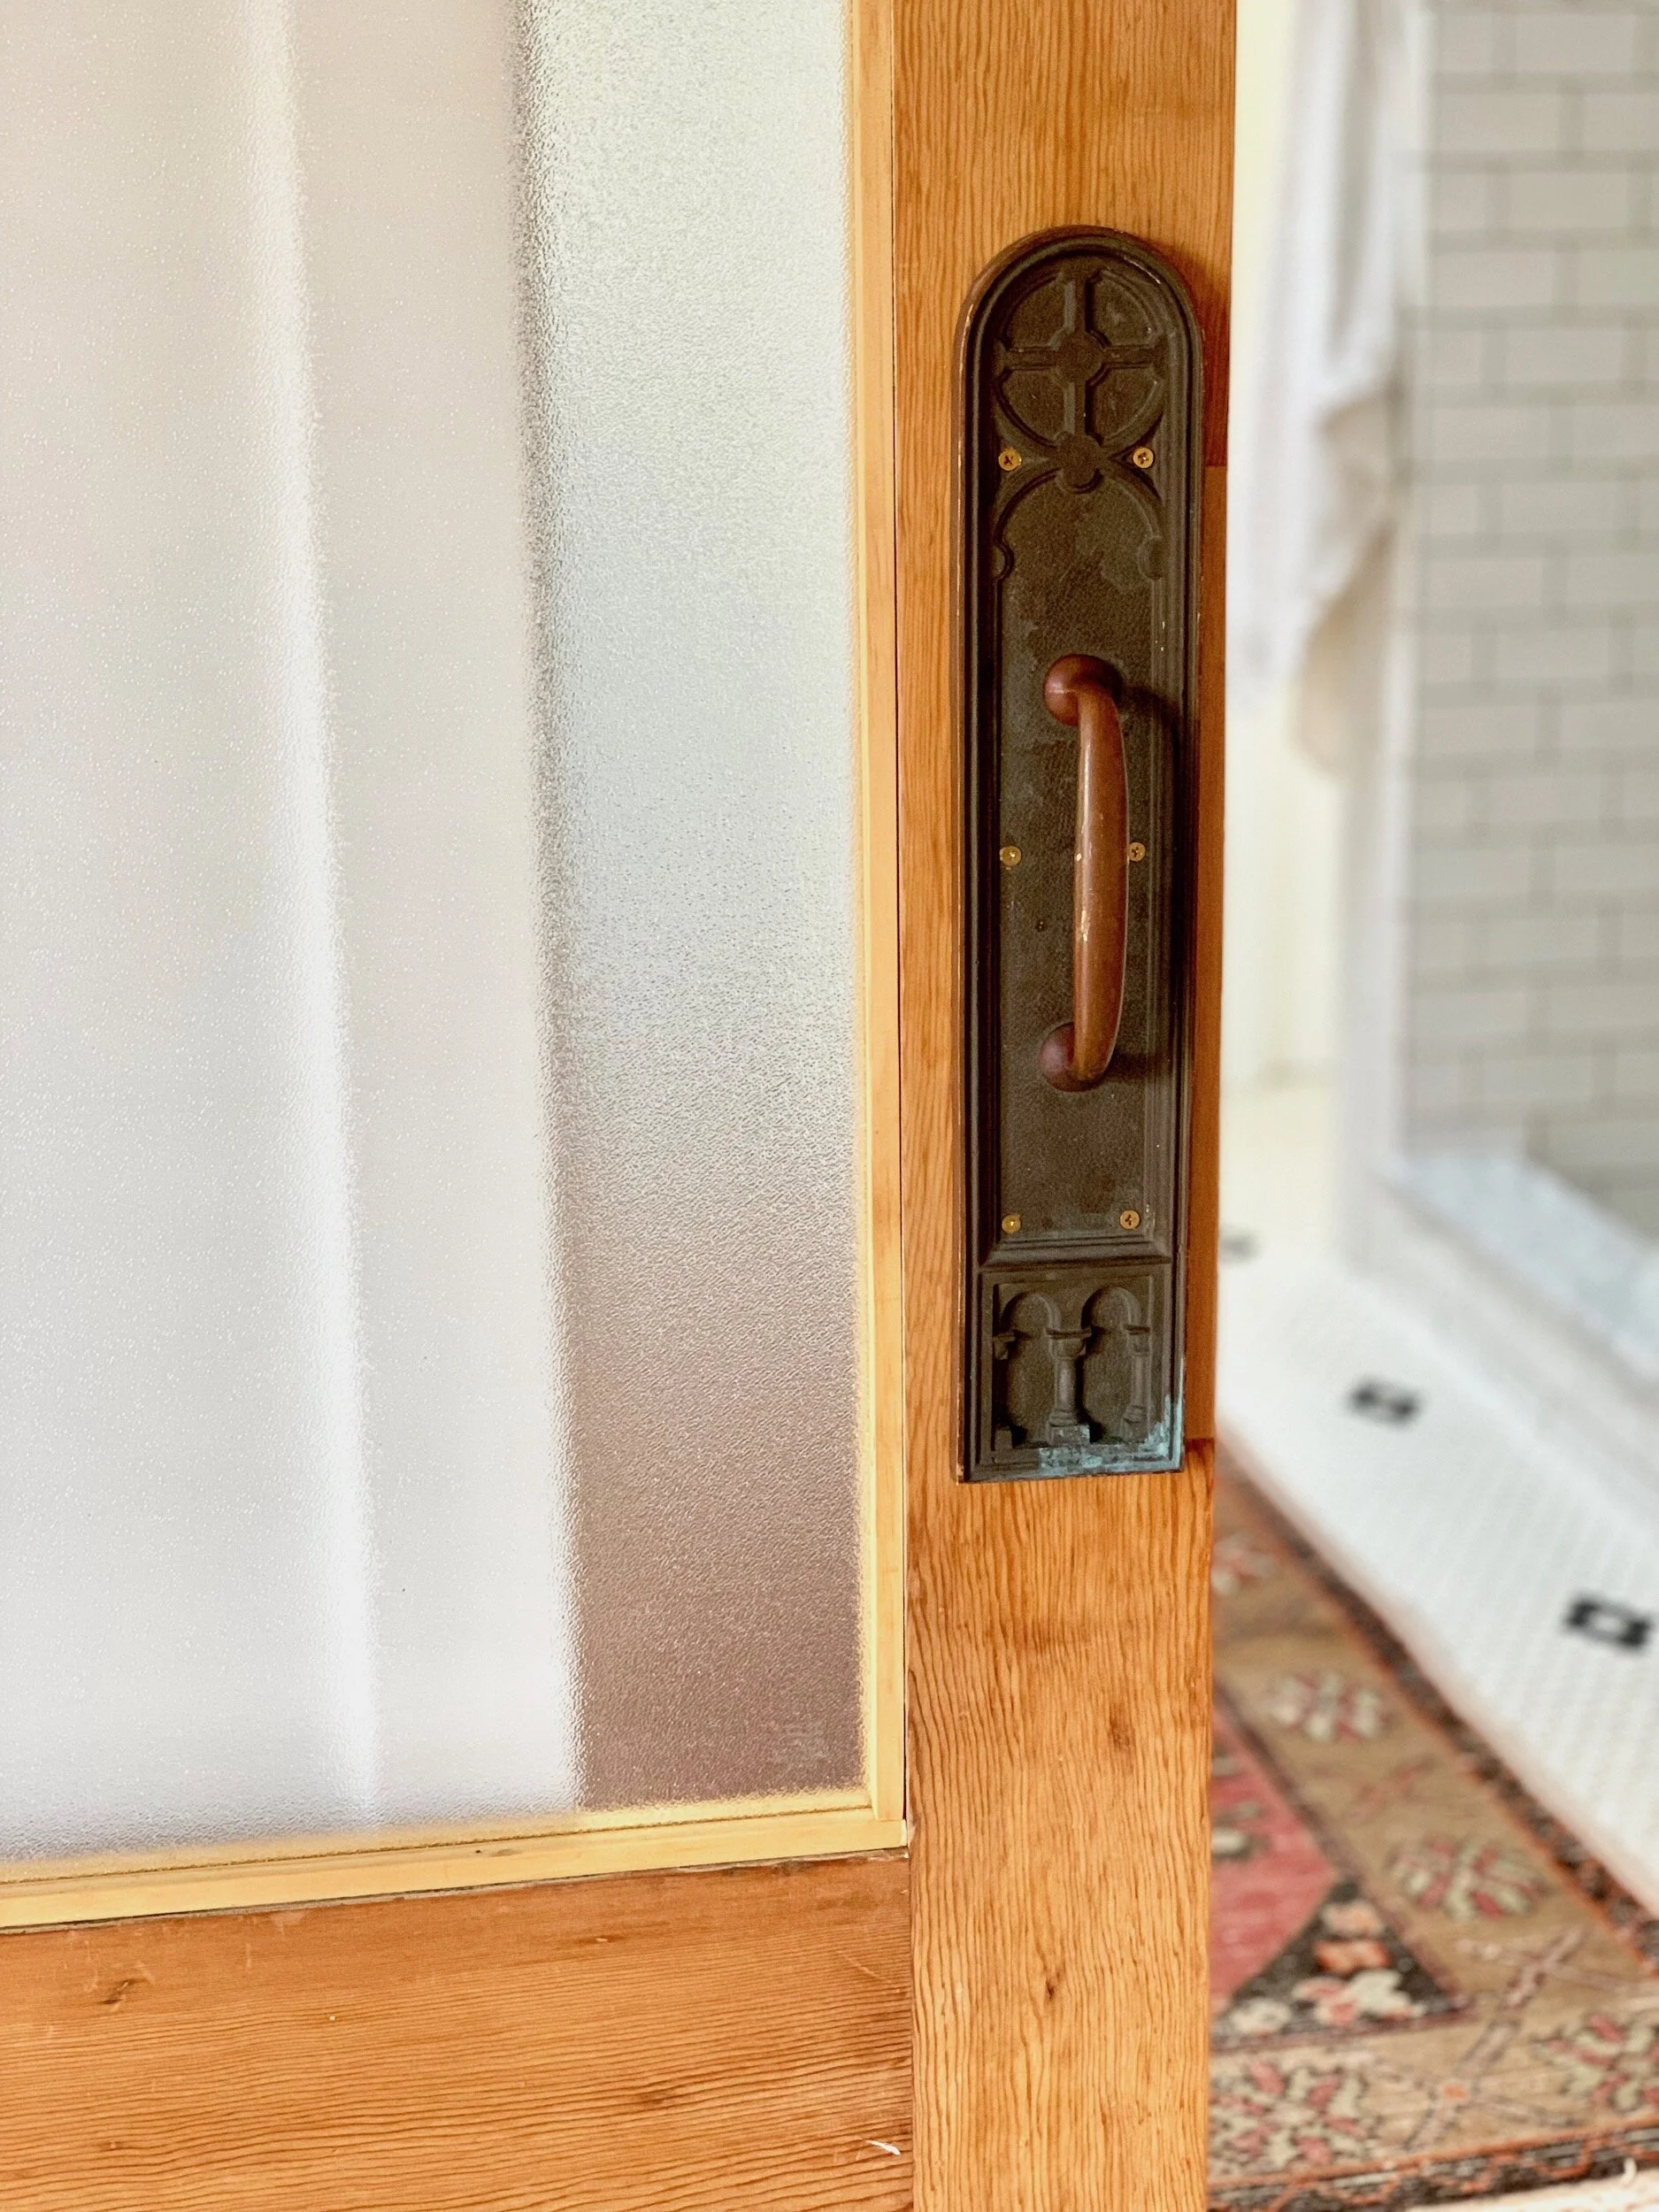
After years of wear the area where the door hardware had been was rotten. We patched the area with a scrap piece of maple. We also added new trim for the glass to sit in.
Step 9
Finish the door.
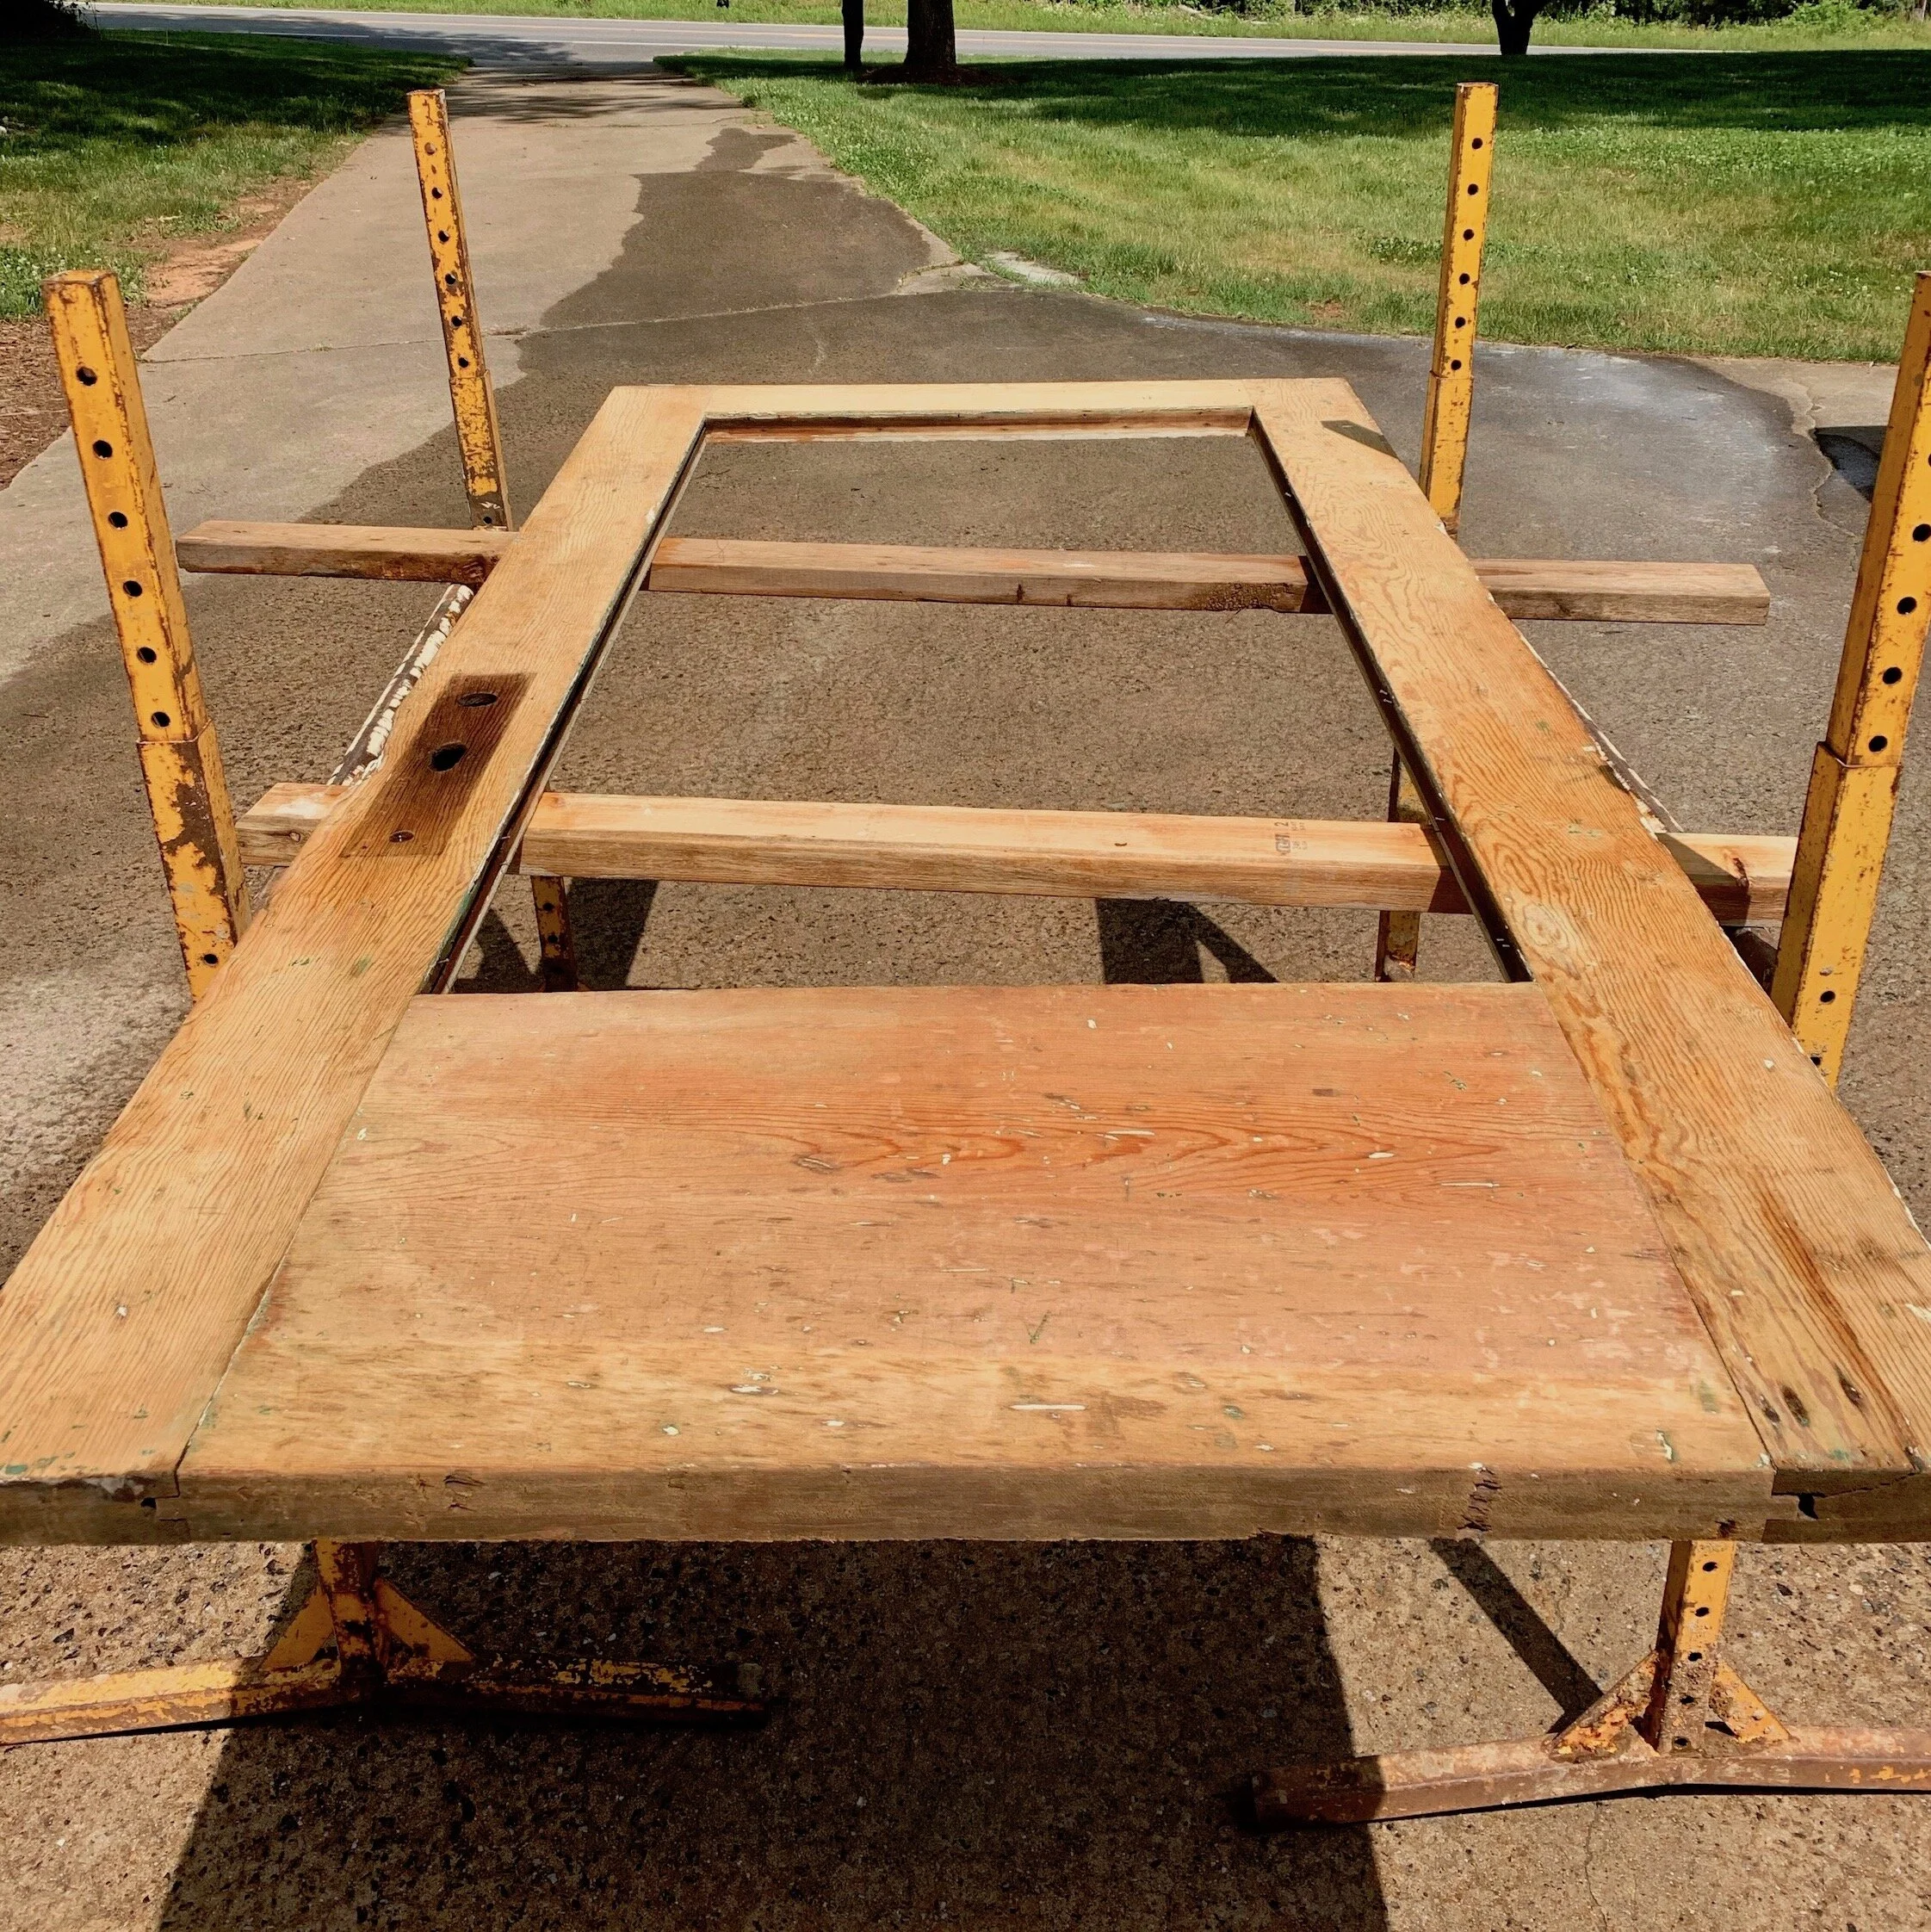
Sand door starting with the 120 grit first. I use my electric sander at first.
**Be careful using an electric sander on any wood product where the finish matters. Electric sanders are great at reducing manual labor, but they can mar up your wood and create deep circular surface scratches that take forever to remove. Using a stepped approach work your way through the sandpaper to desired texture/smooth-ness. Example: Don’t jump from 120 to 220.
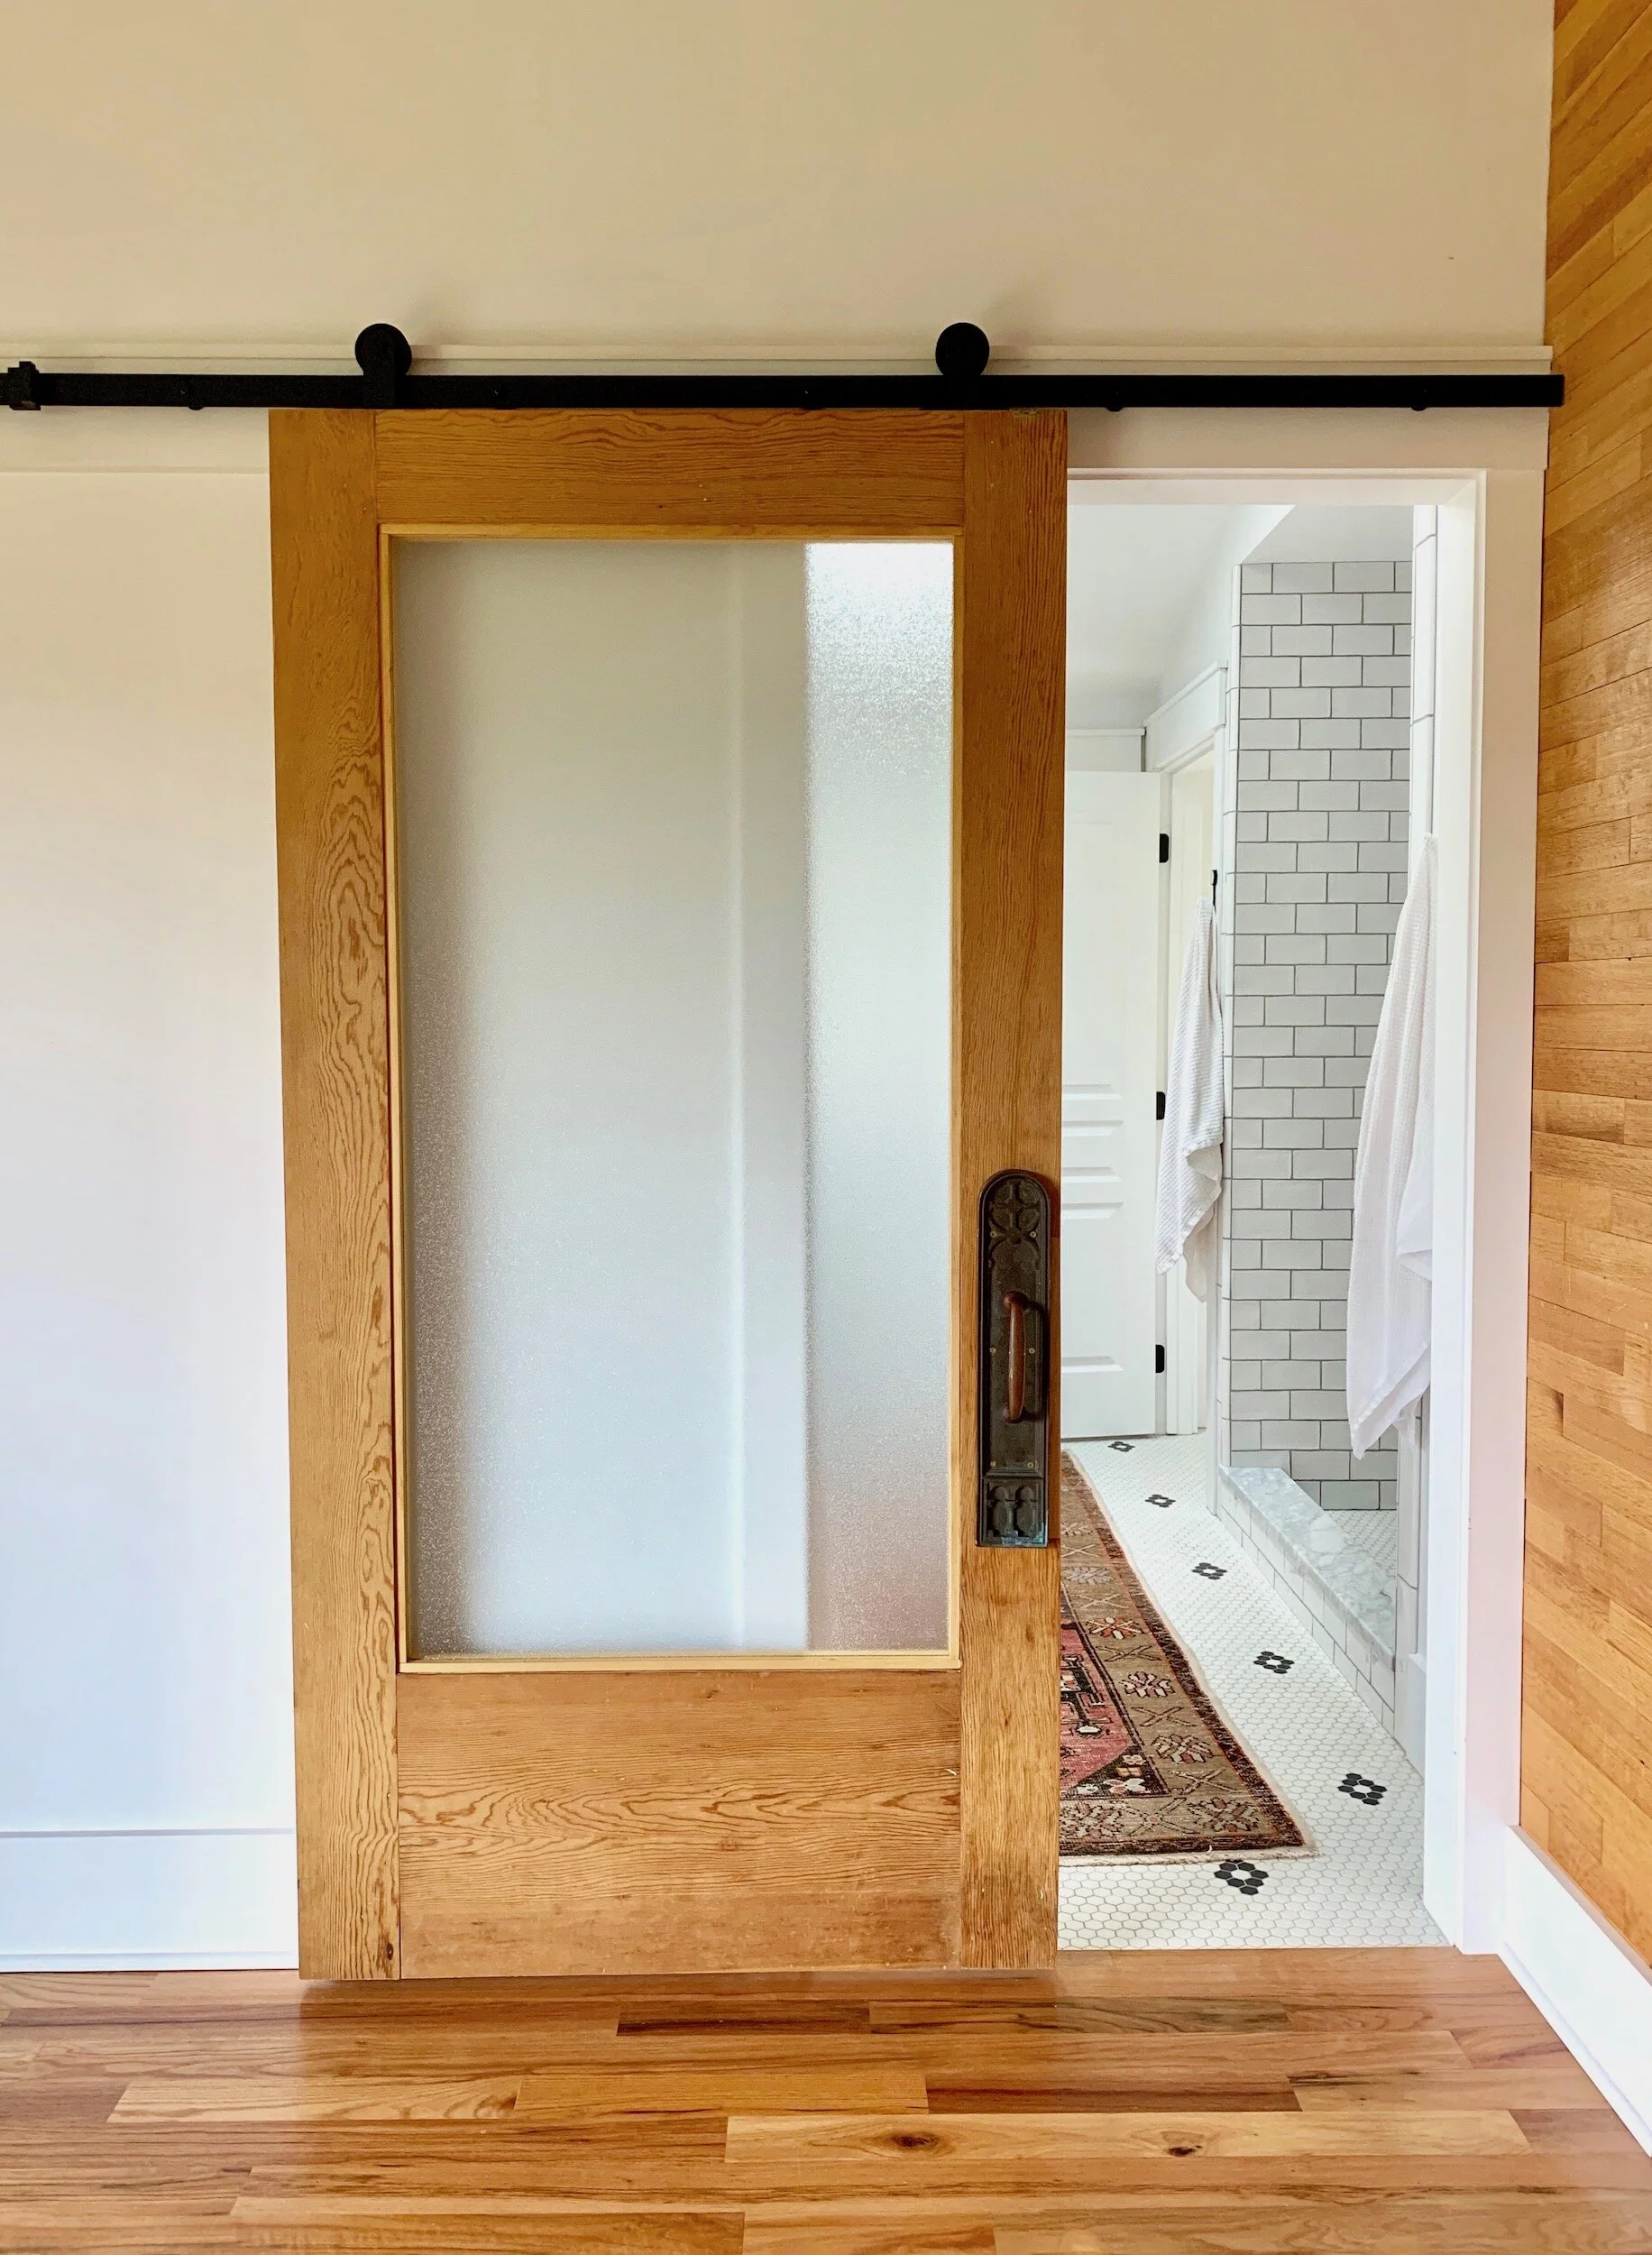
We opted to finish the door with linseed oil, no stain. It has a nice soft finish and really brings out the wood grain. We ordered a textured piece of glass for the middle.
Step 10
Install.
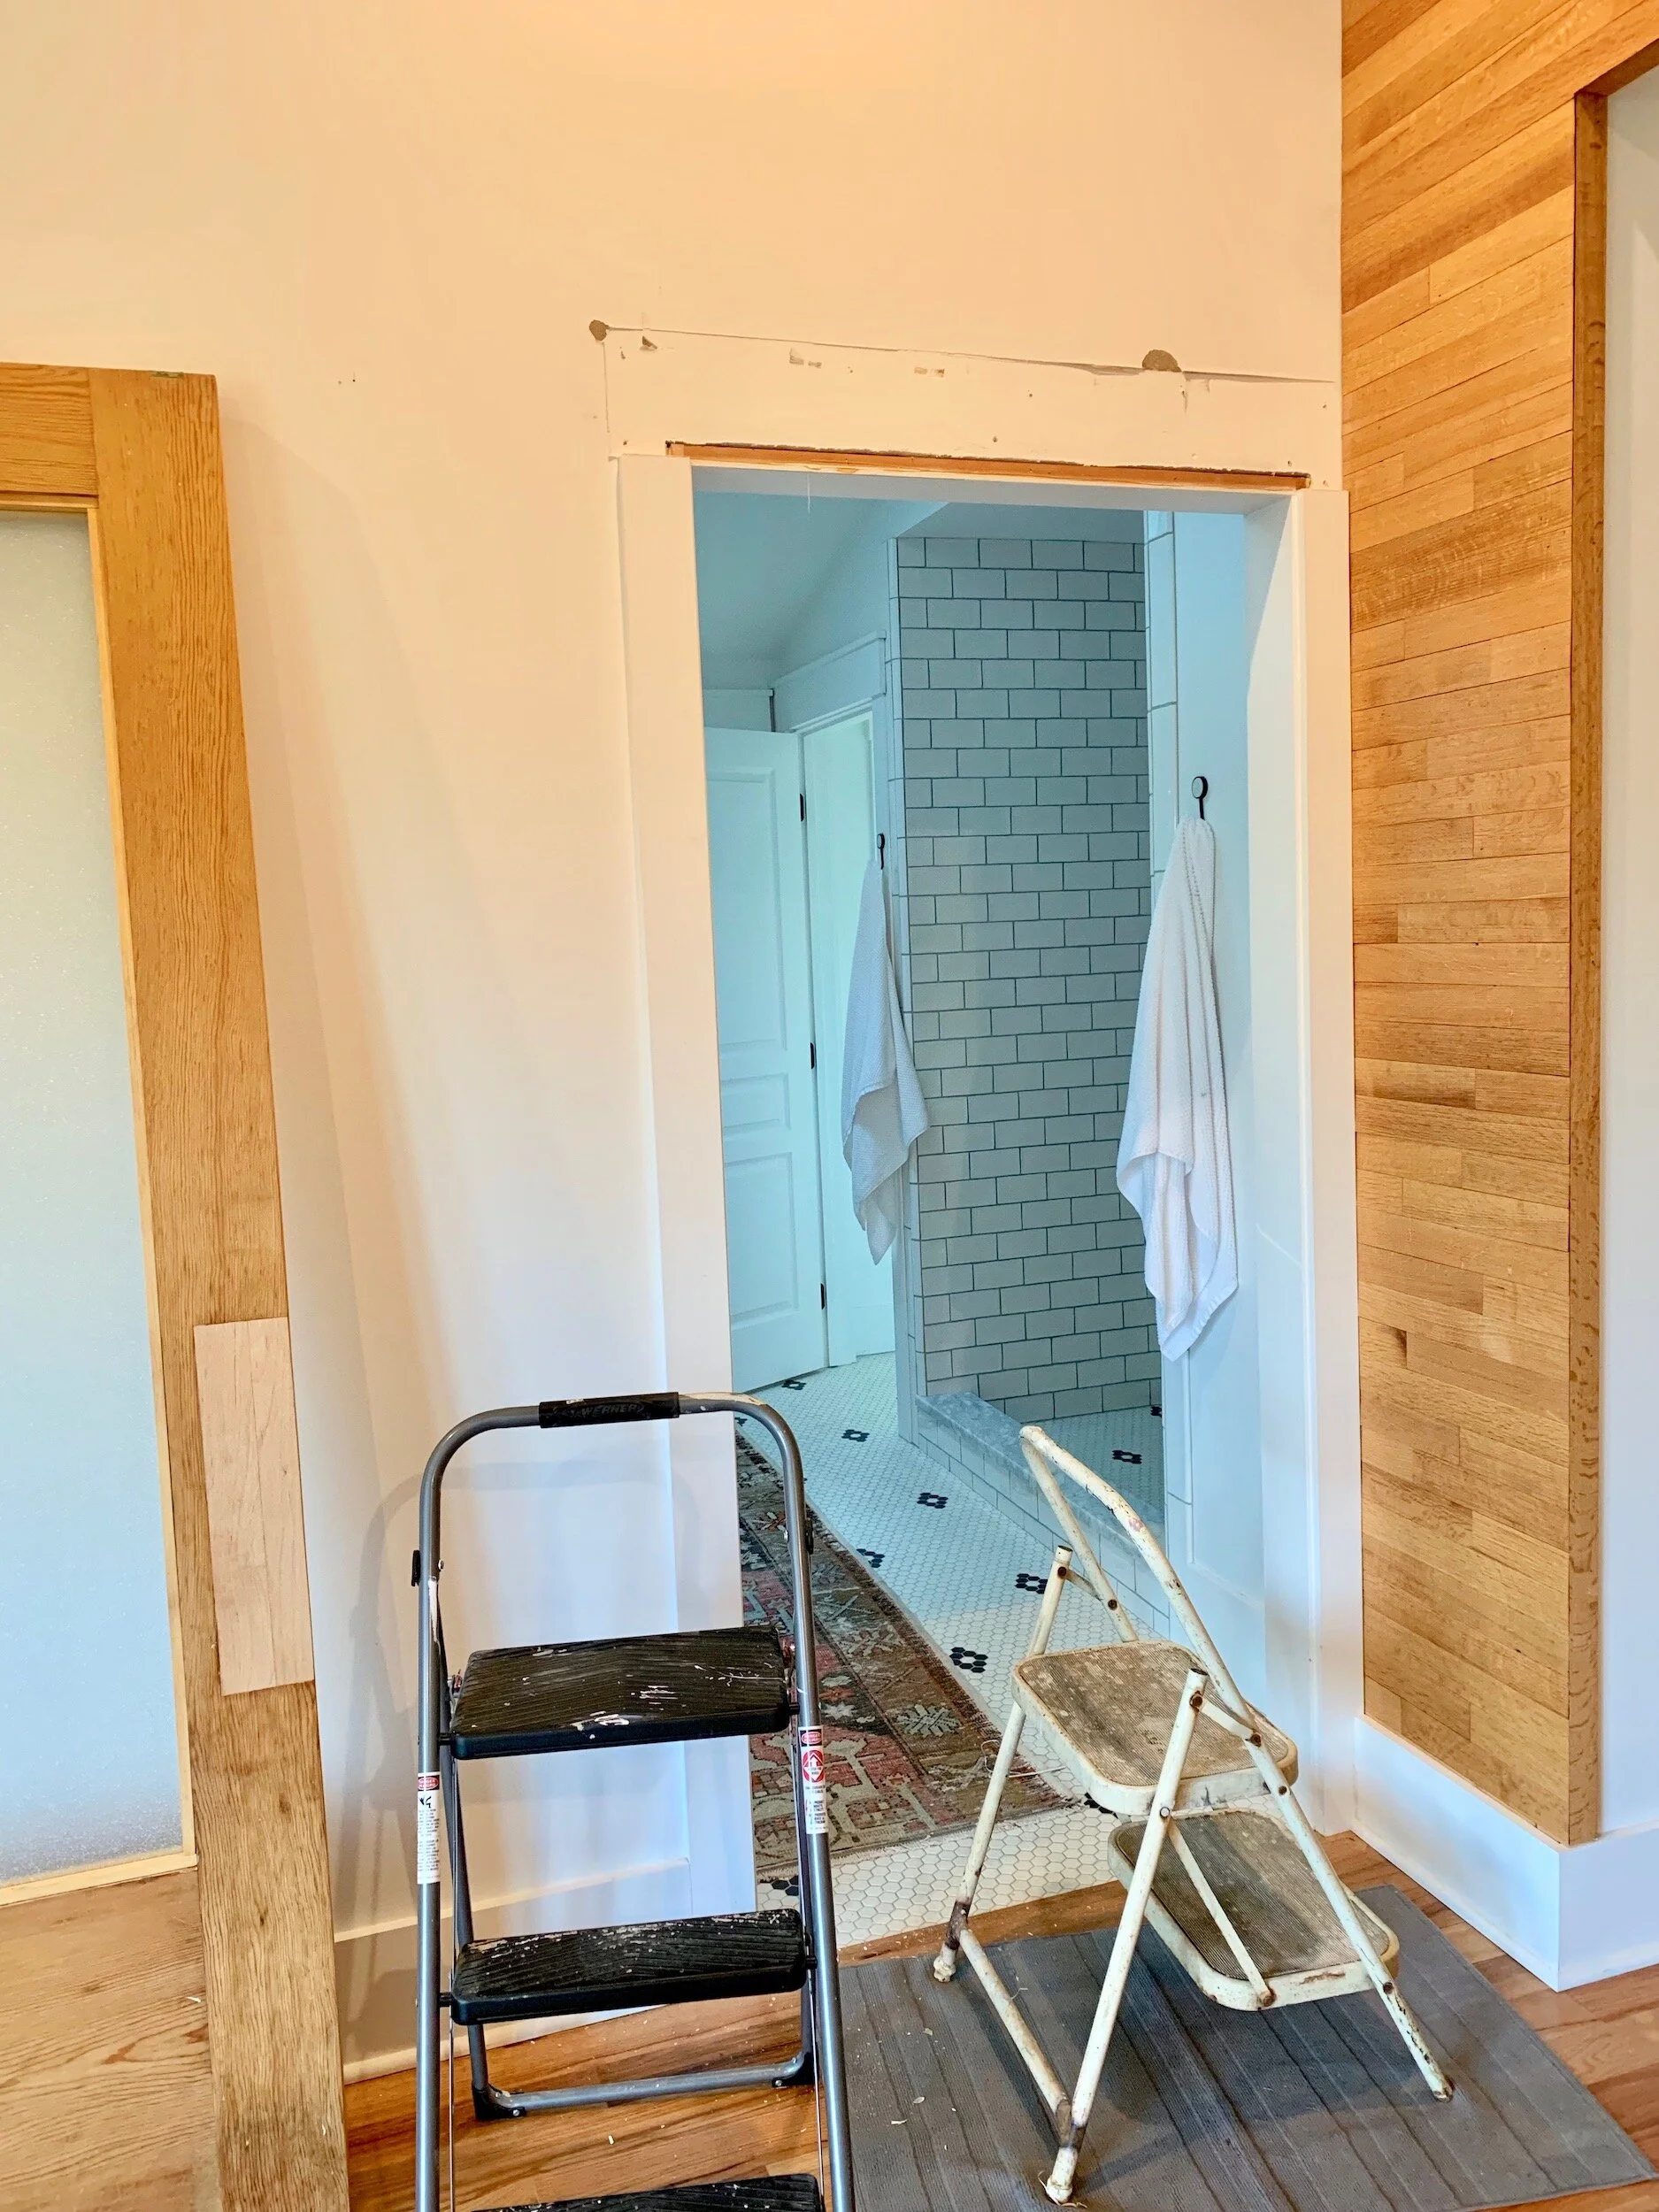
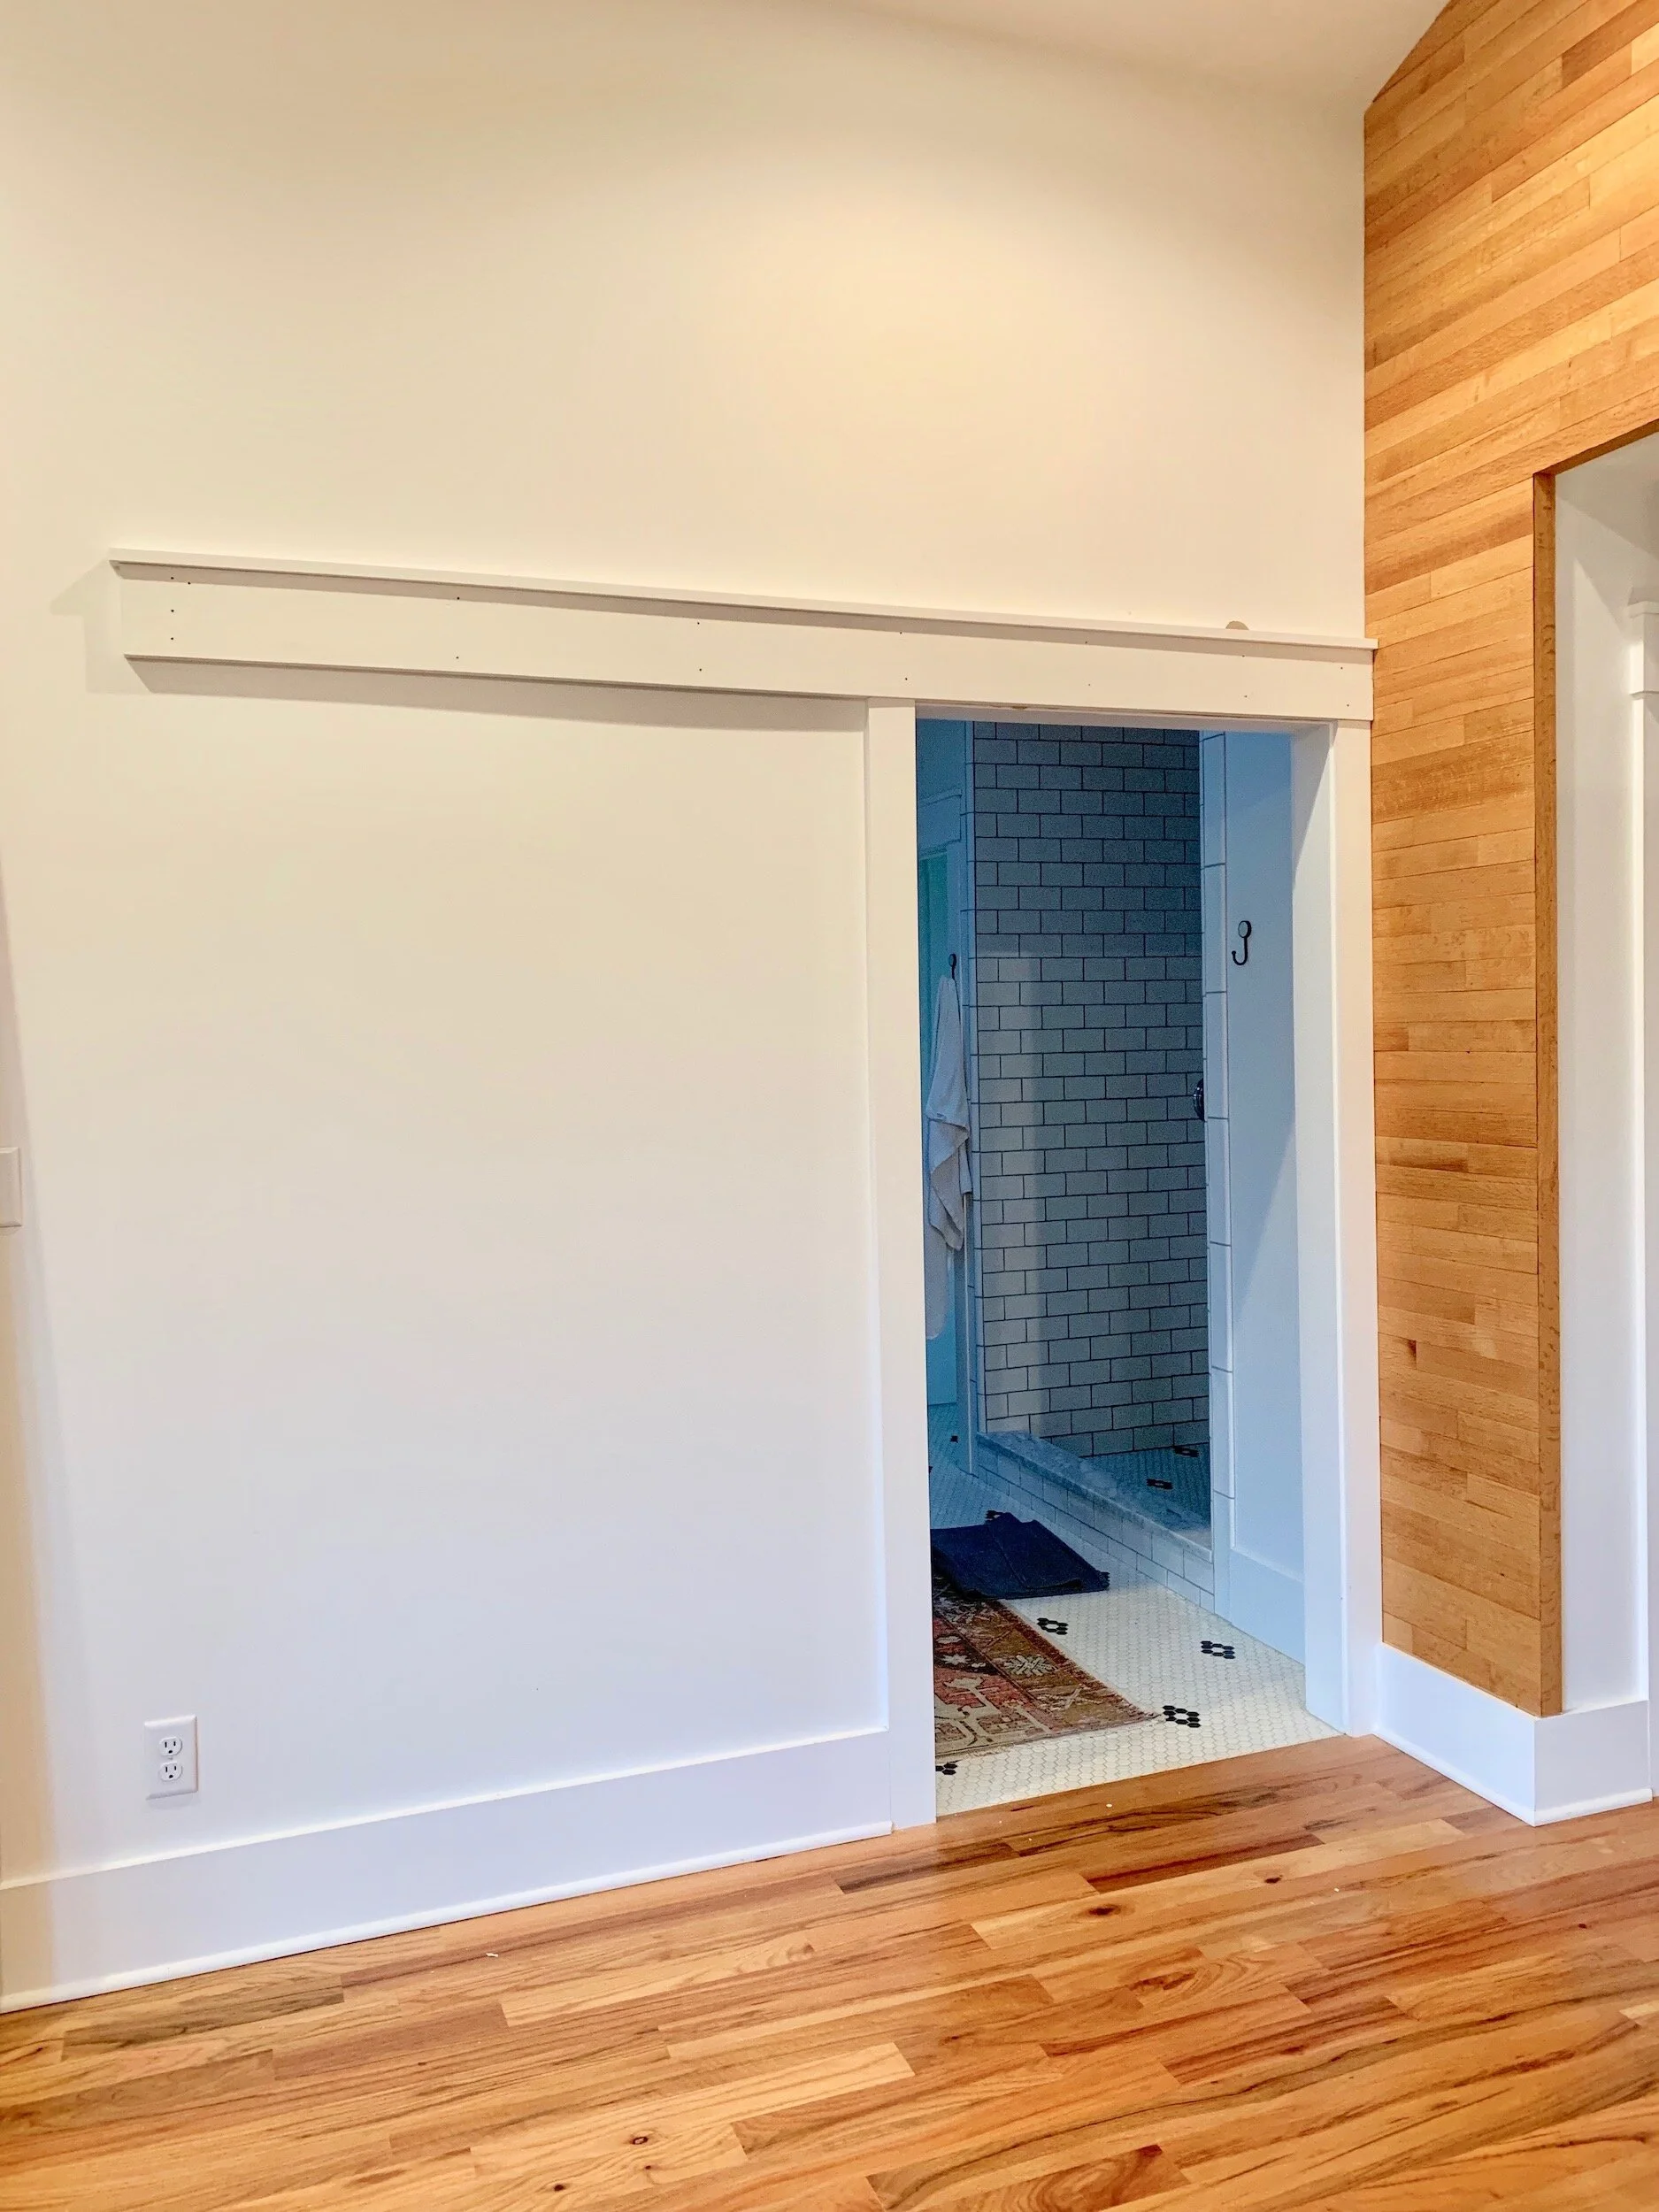
We decided on a barn style hardware set up. The style we chose was a bit more minimal compared to other styles, but it really compliments our home, style and lets the focus be where it should - the door.
Shout out to Sipe Lumber for always working with me on my crazy ideas and special ordering this Barn Door Hardware for me. We also swiped this awesome salvage door pull from Etsy.
Feel free to DM me or reach out via email if you have any questions or want to share your own projects!


